Recipe File: No Bake Mini Oreo Cheesecakes
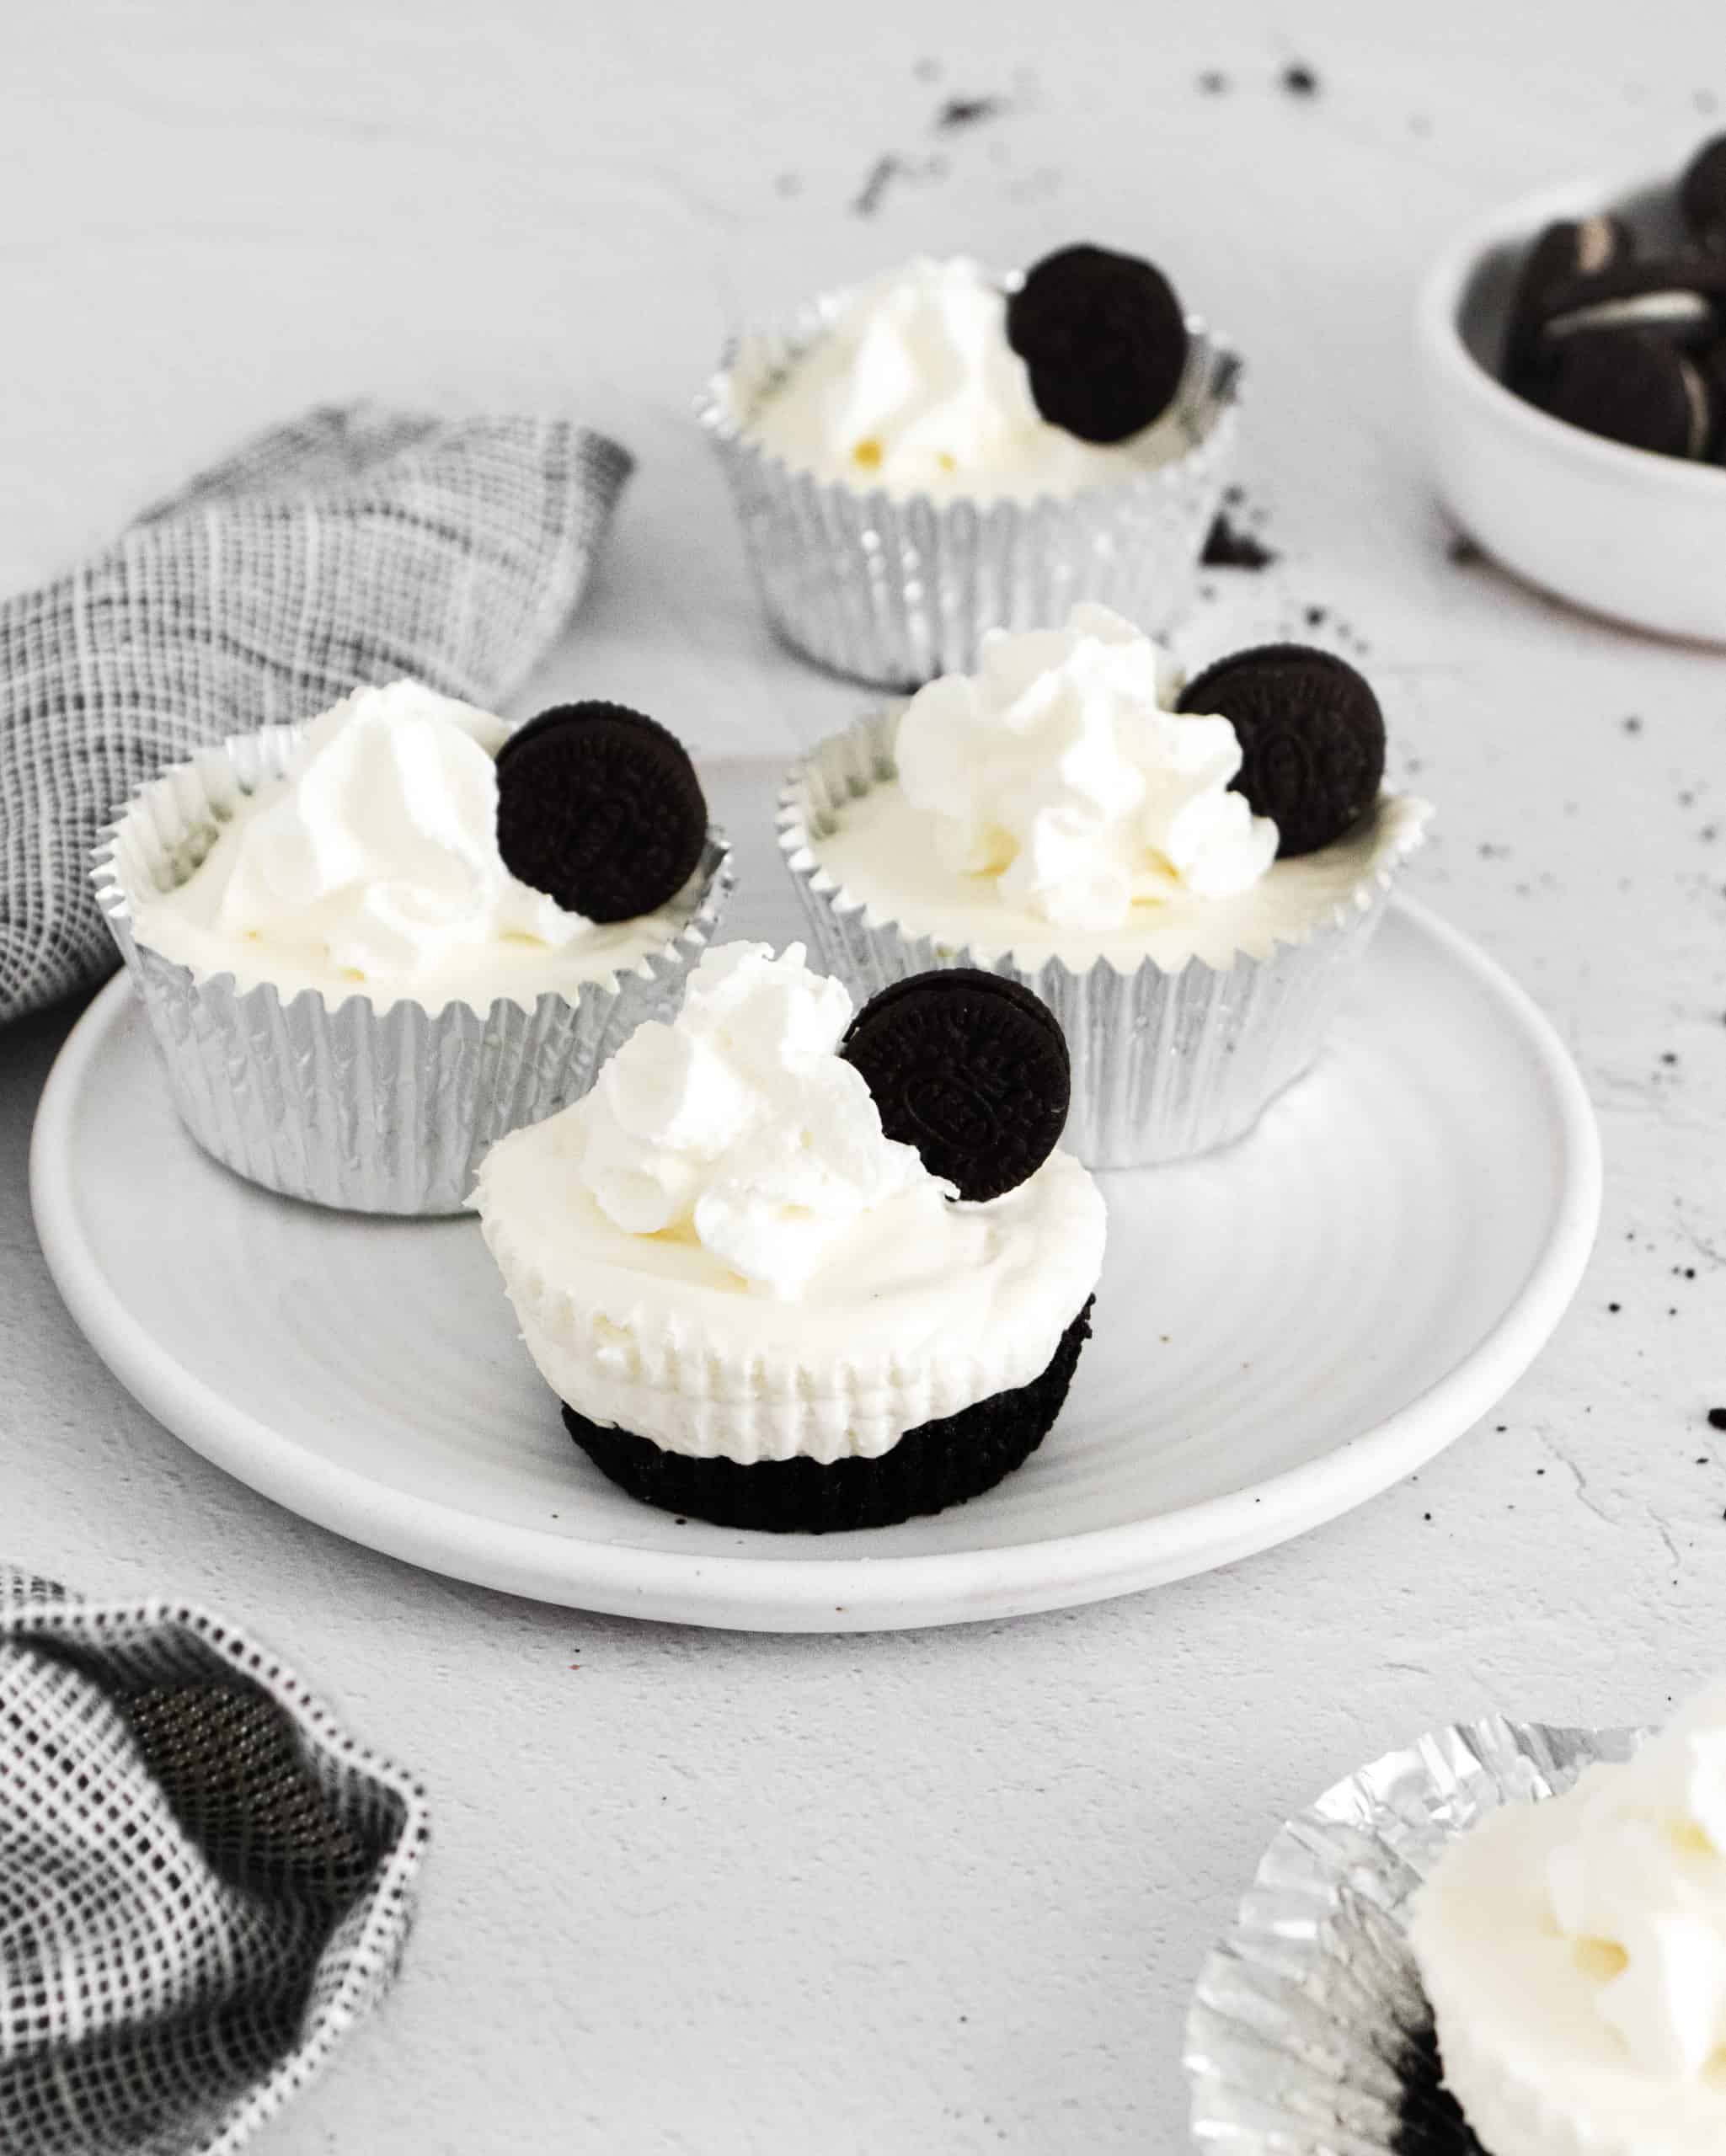
I loved Oreo cookies since I was a child and my love for cheesecake grew more in my late teens. So it made since to combine to of my favorite treats to create the ultimate recipe: No Bake Mini Oreo Cheesecakes.
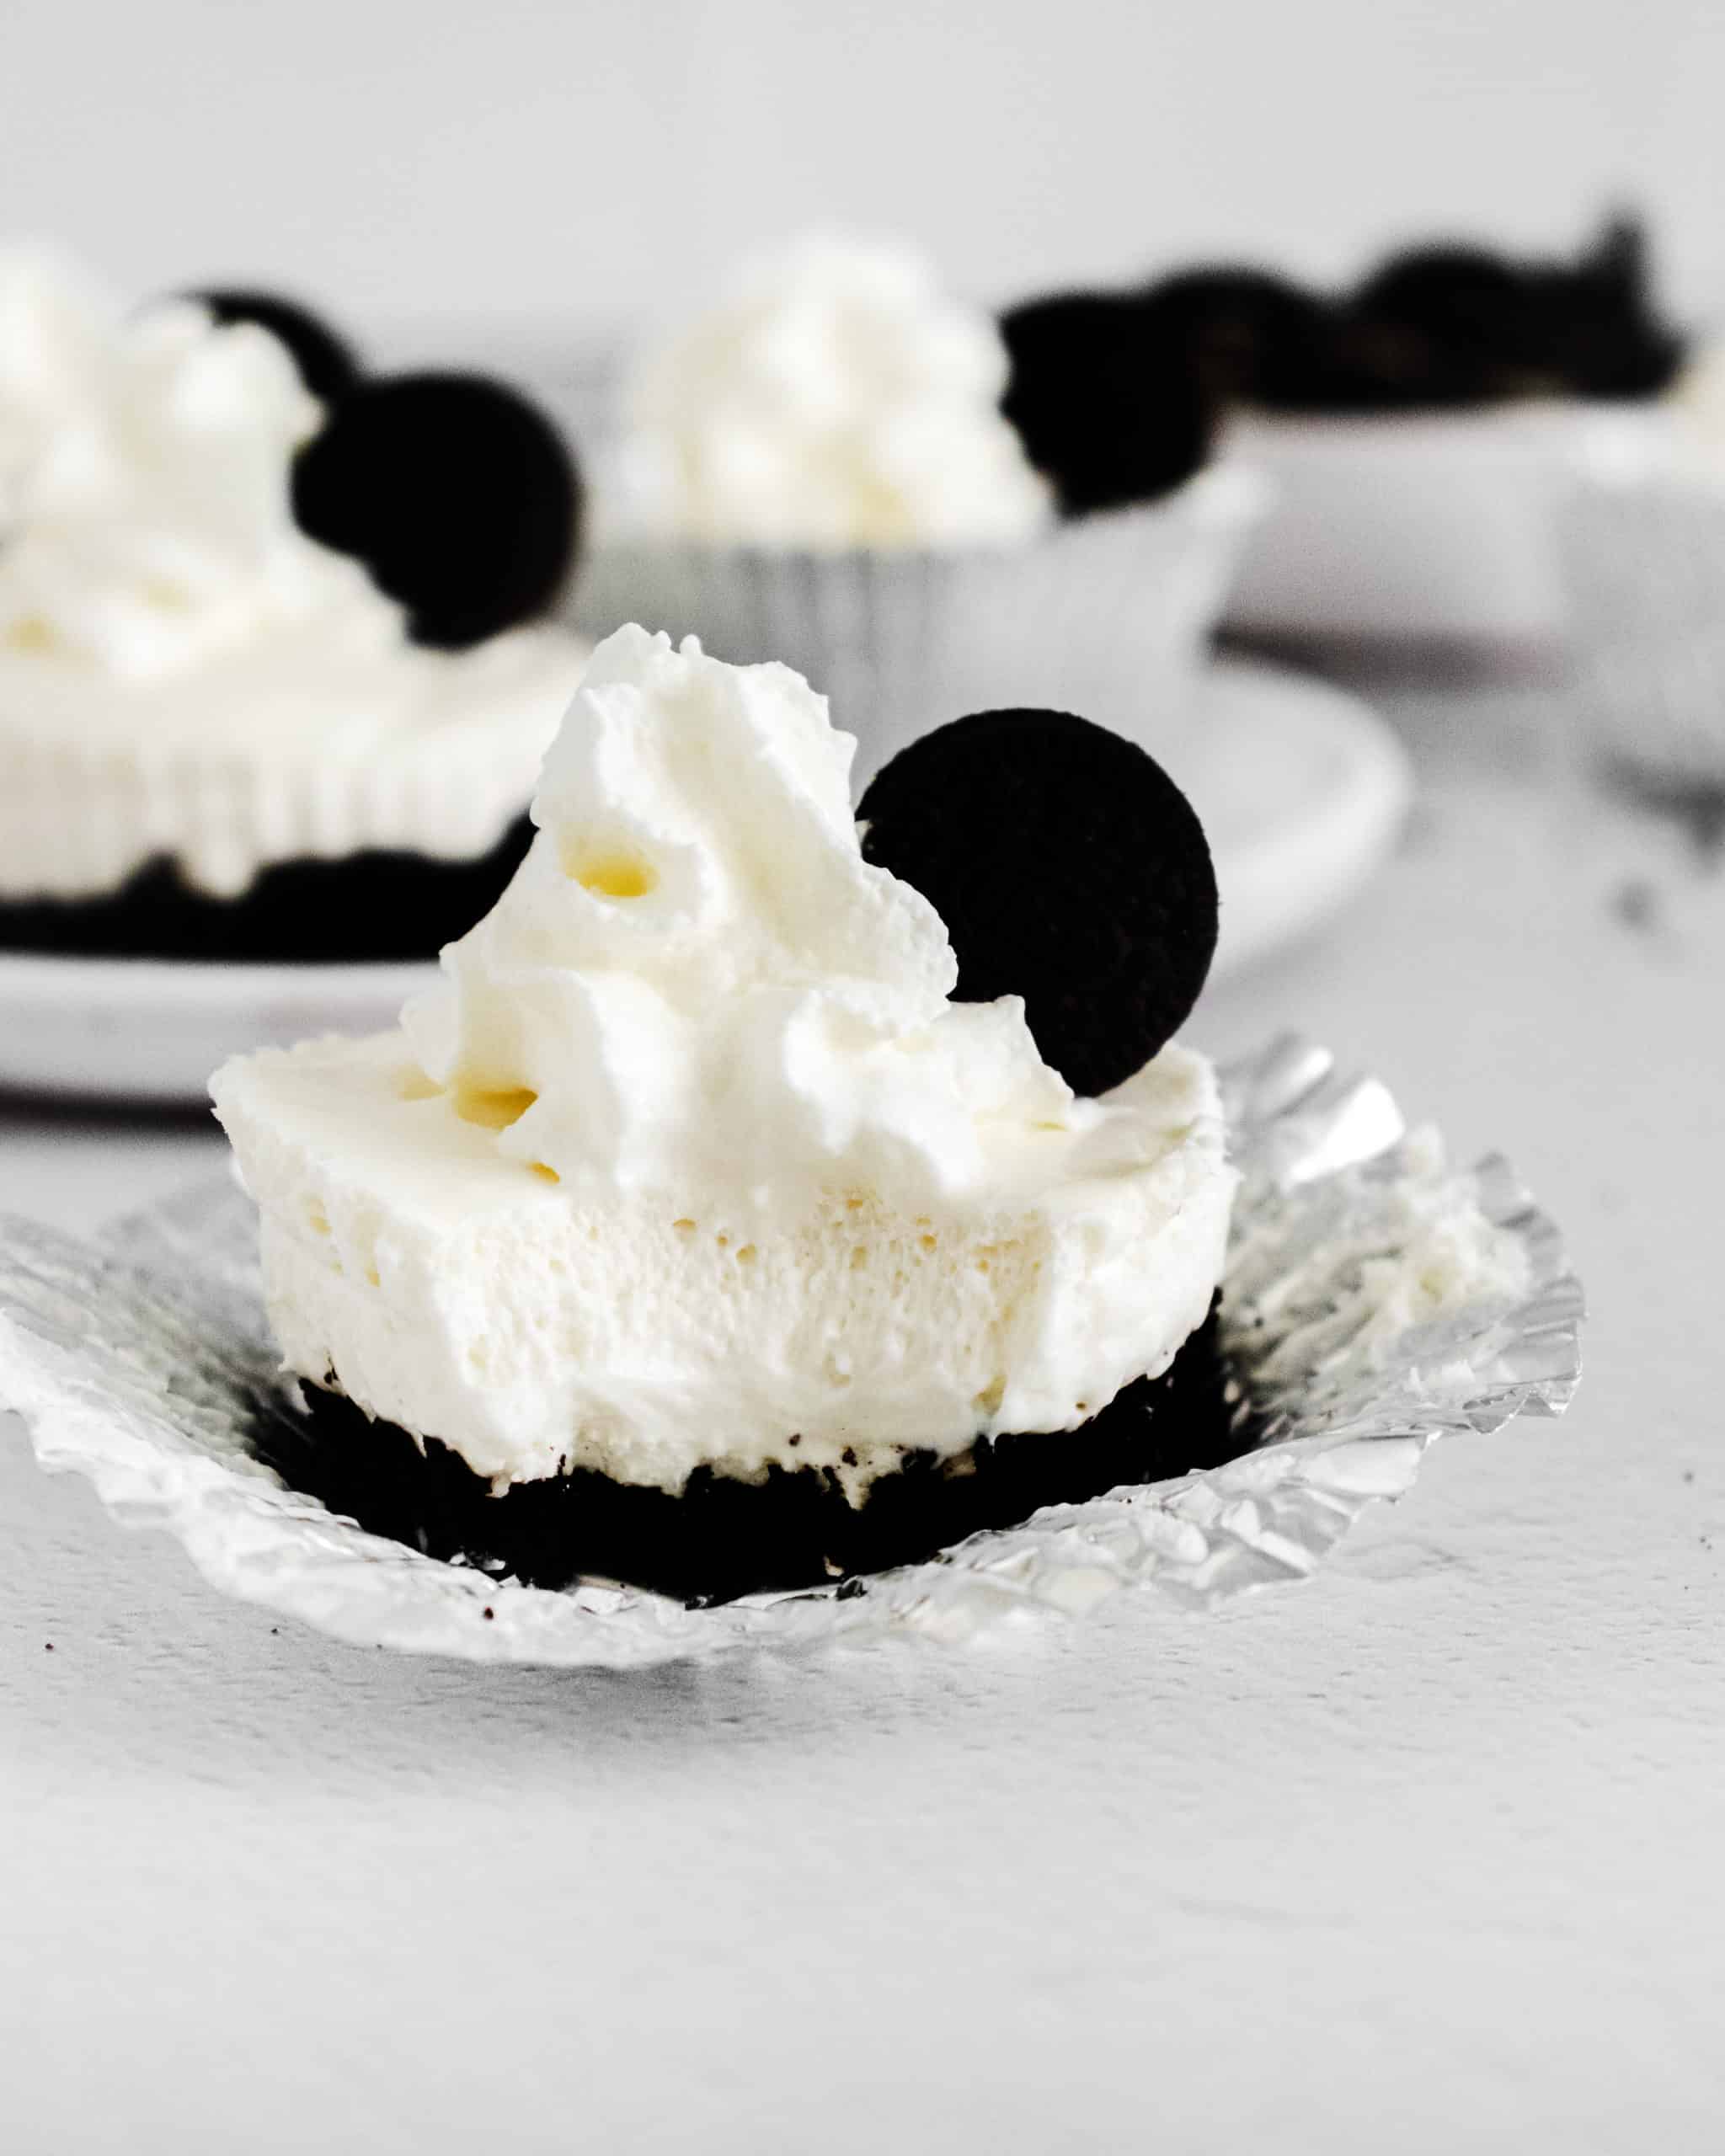
One look at the recipe and your mouth can’t help but water. It’s so easy to make and very filling. The filling is so creamy and smooth but you still get that nice crunch from the bottom layer. This No Bake Mini Oreo Cheesecakes recipe is perfect for anytime of the year but with the holidays approaching, you’ll definitely want to add these to your desserts list for the whole family to enjoy.
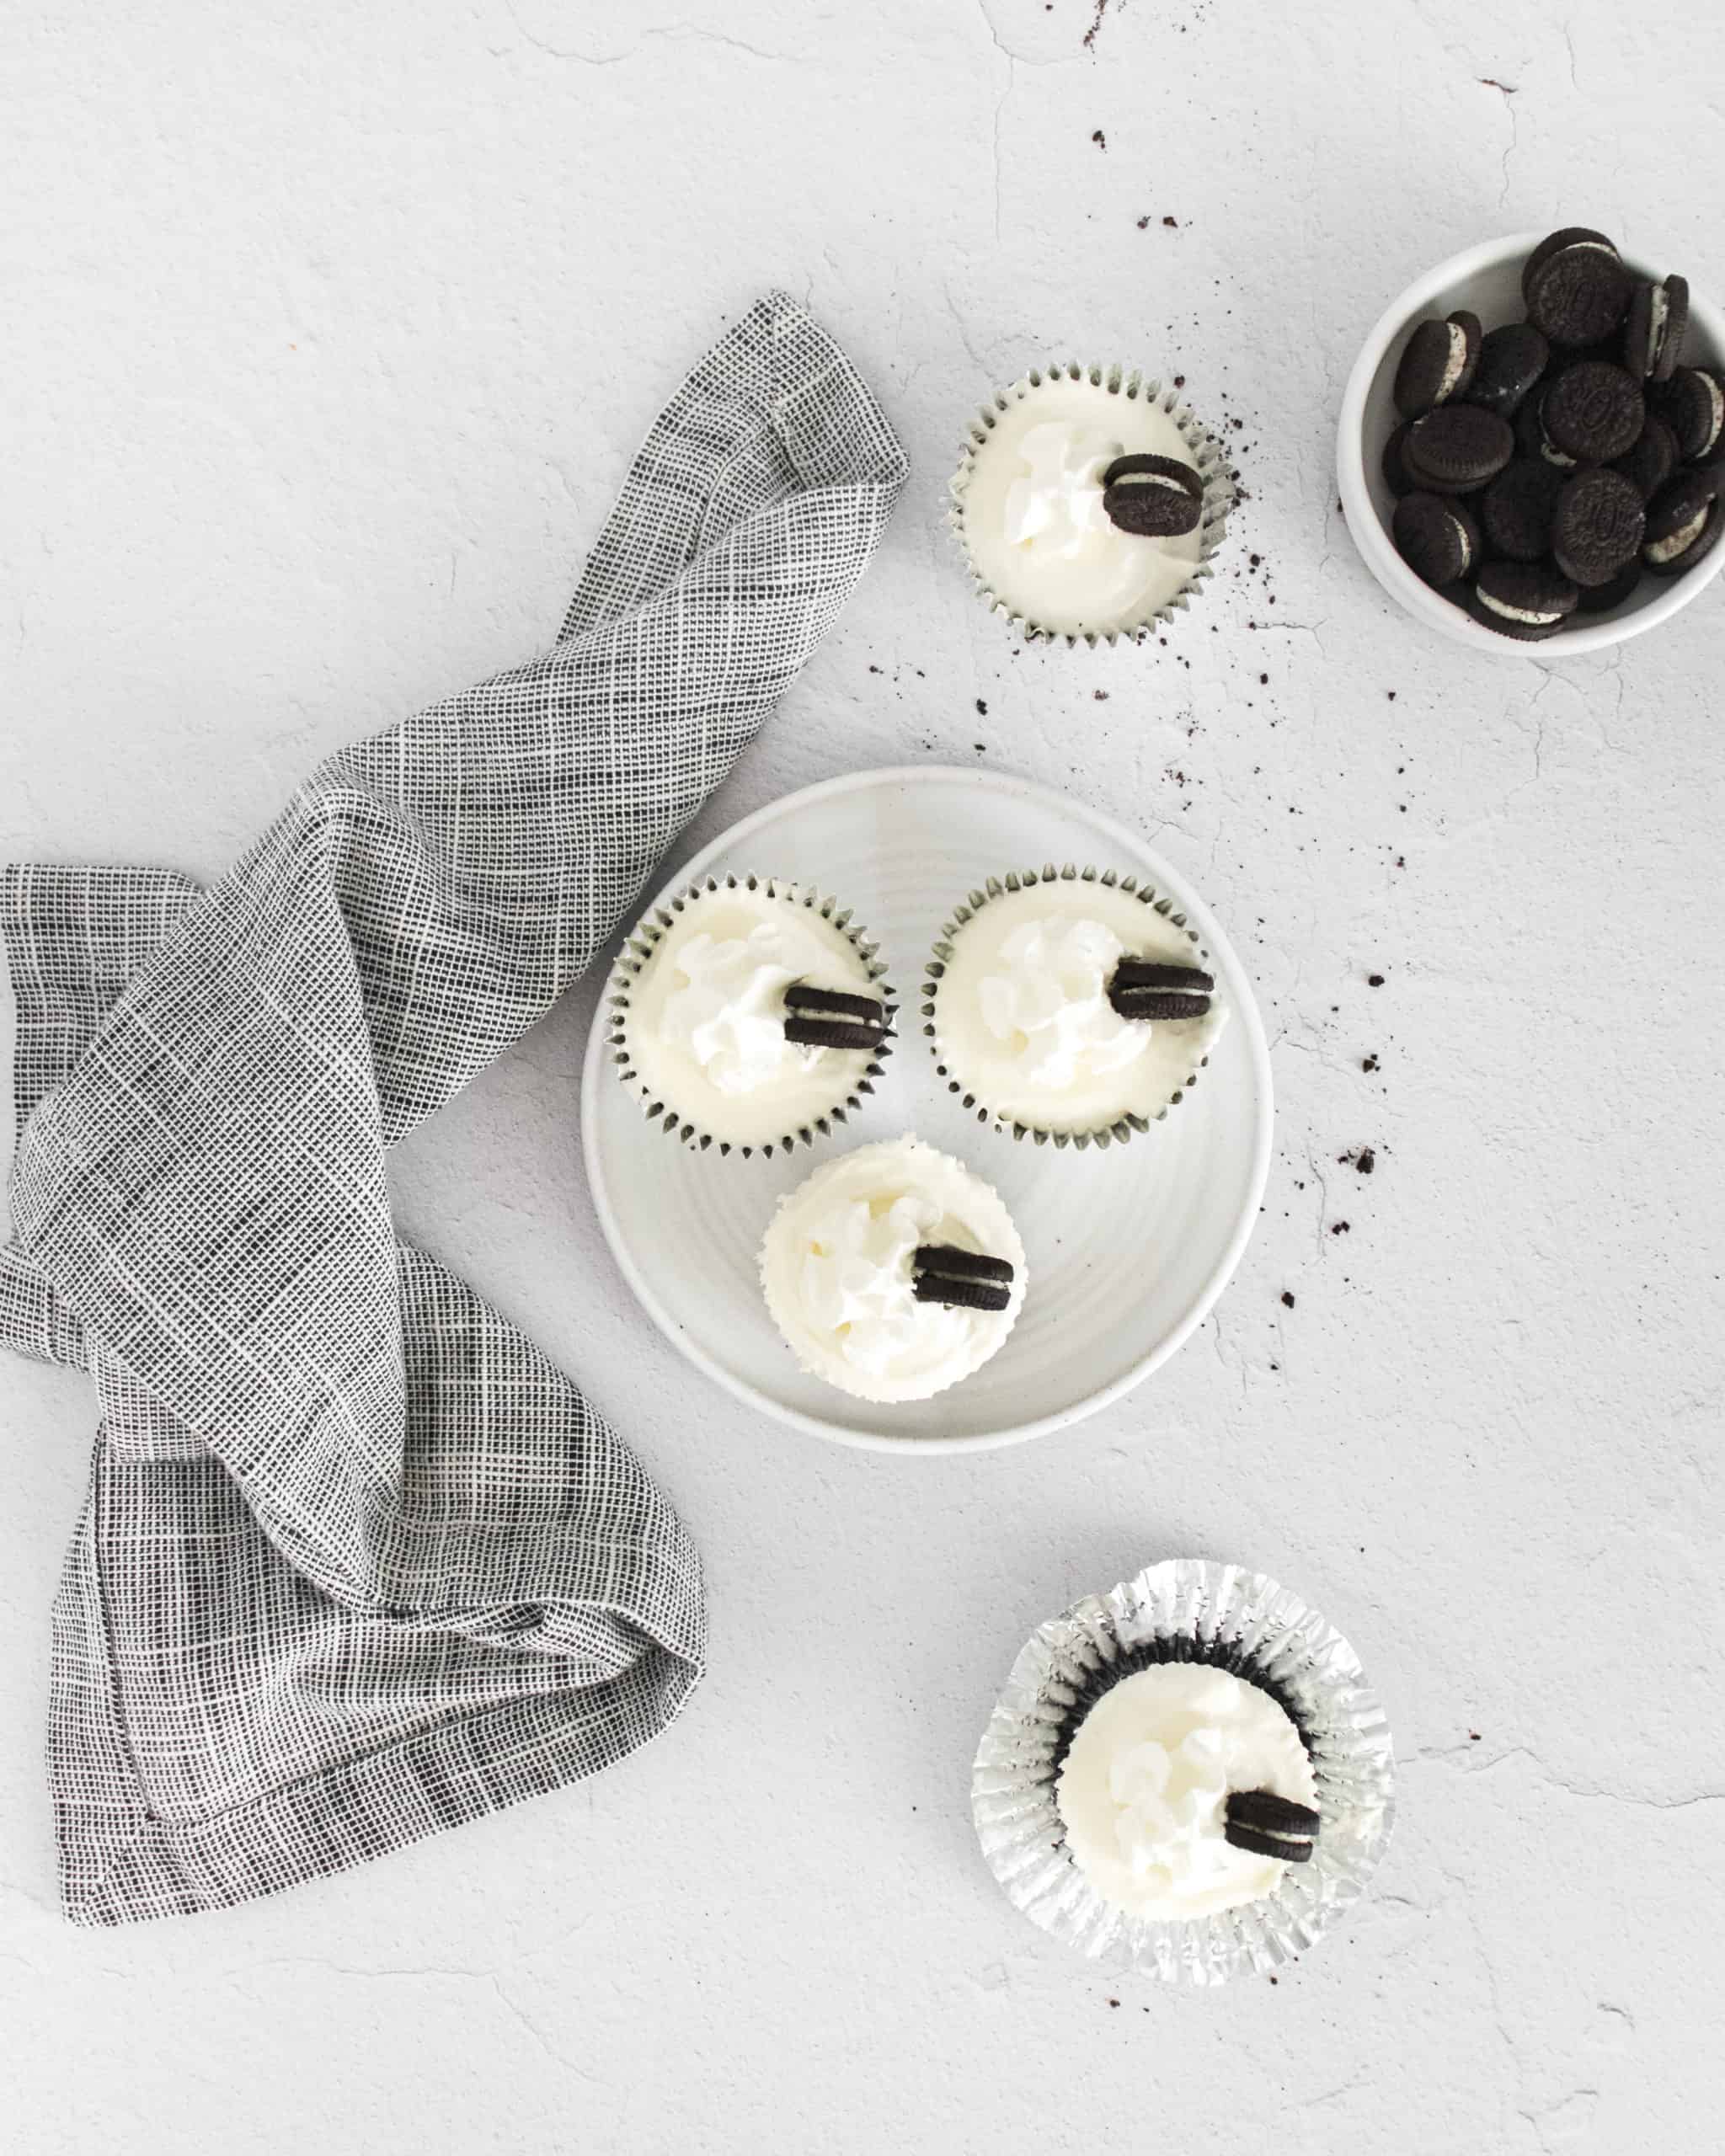
No Bake Mini Oreo Cheesecakes
This delicious recipe is so easy to make and you don’t need a ton of ingredients!
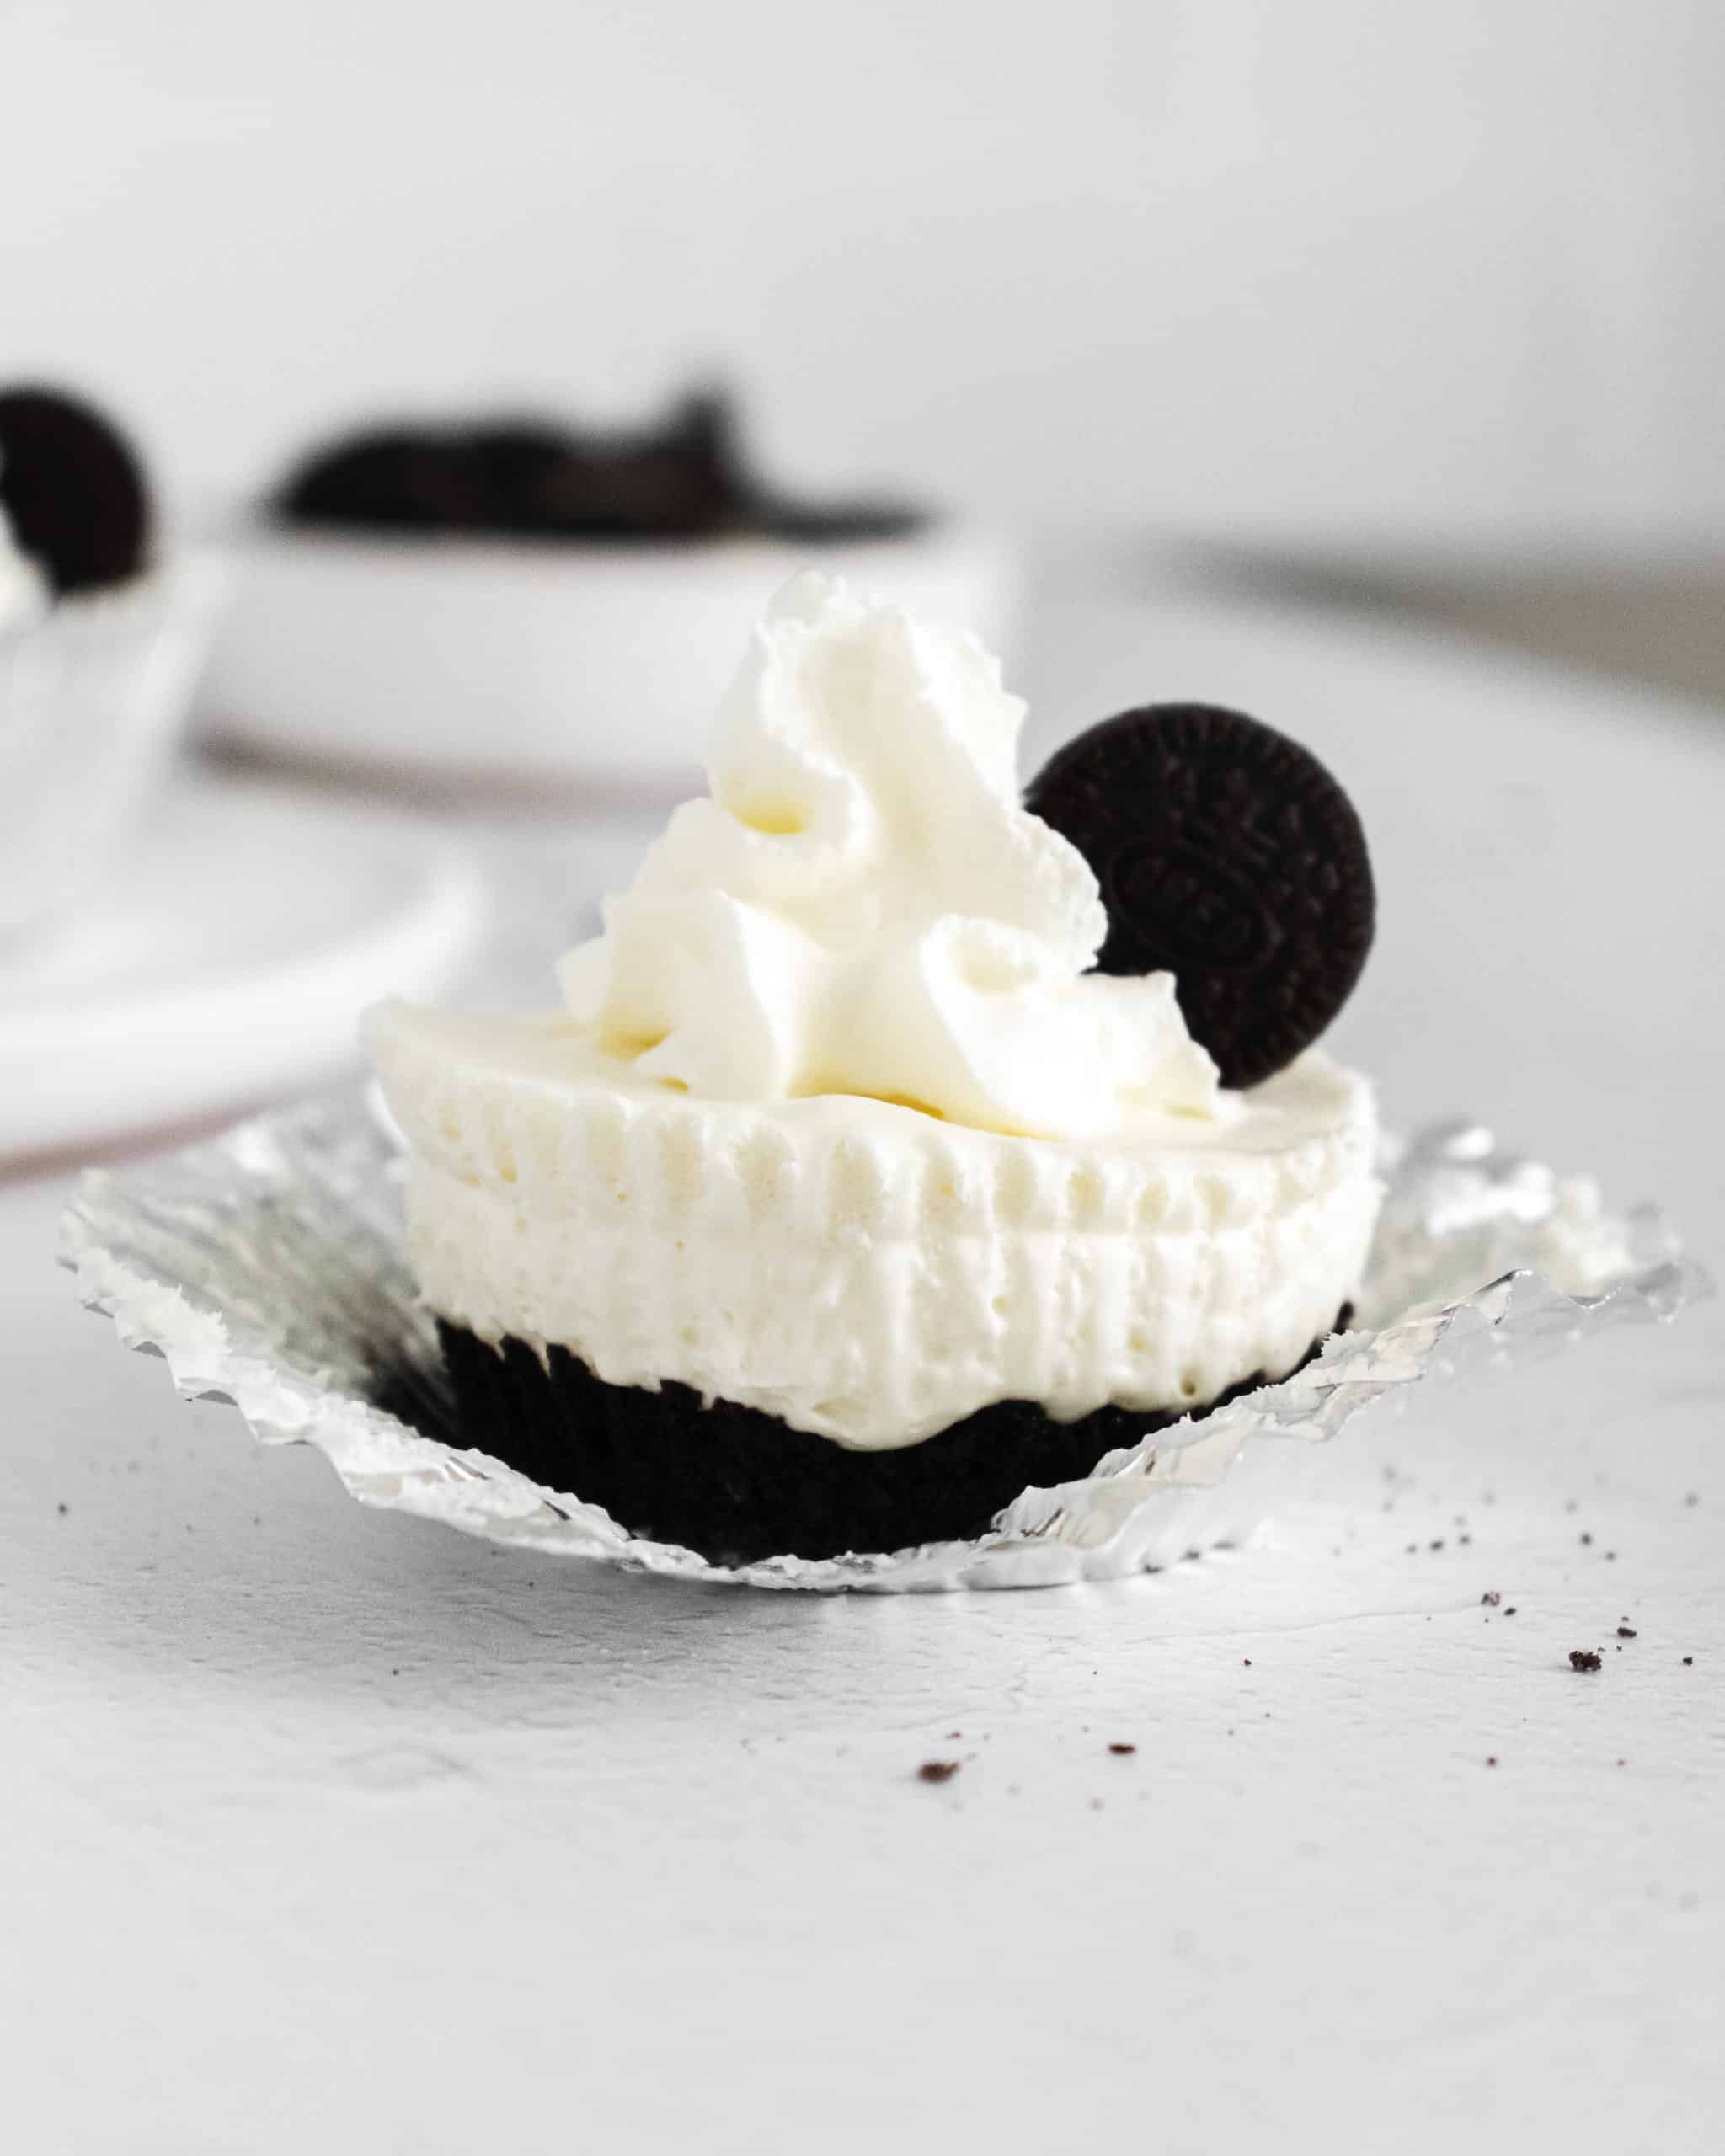
Ingredients
For the Crust
- 1 cup Oreo crumbs
- 3 tablespoons butter, melted
For the Filling
- 8 ounces cream cheese, at room temperature
- 1/4 cup sour cream, at room temperature
- 1/3 cup granulated sugar
- 3/4 cup heavy cream
- 1 teaspoon vanilla extract
- ¼ teaspoon kosher salt
For Prep
- a pack of foil wrappers
- 12 standard muffin pan
- a stand mixer
Prep Time: 10 minutes // Chill Time: 4 hours
Instructions
Make the Crust
Step 1. Line 12 standard muffin pan with foil wrappers.
Step 2. Combine the Oreo crumbs and melted butter in a small bowl. When combined, they should have the texture of wet sand. Divide the crust evenly between the muffin tins and pat it down to evenly coat the bottom.
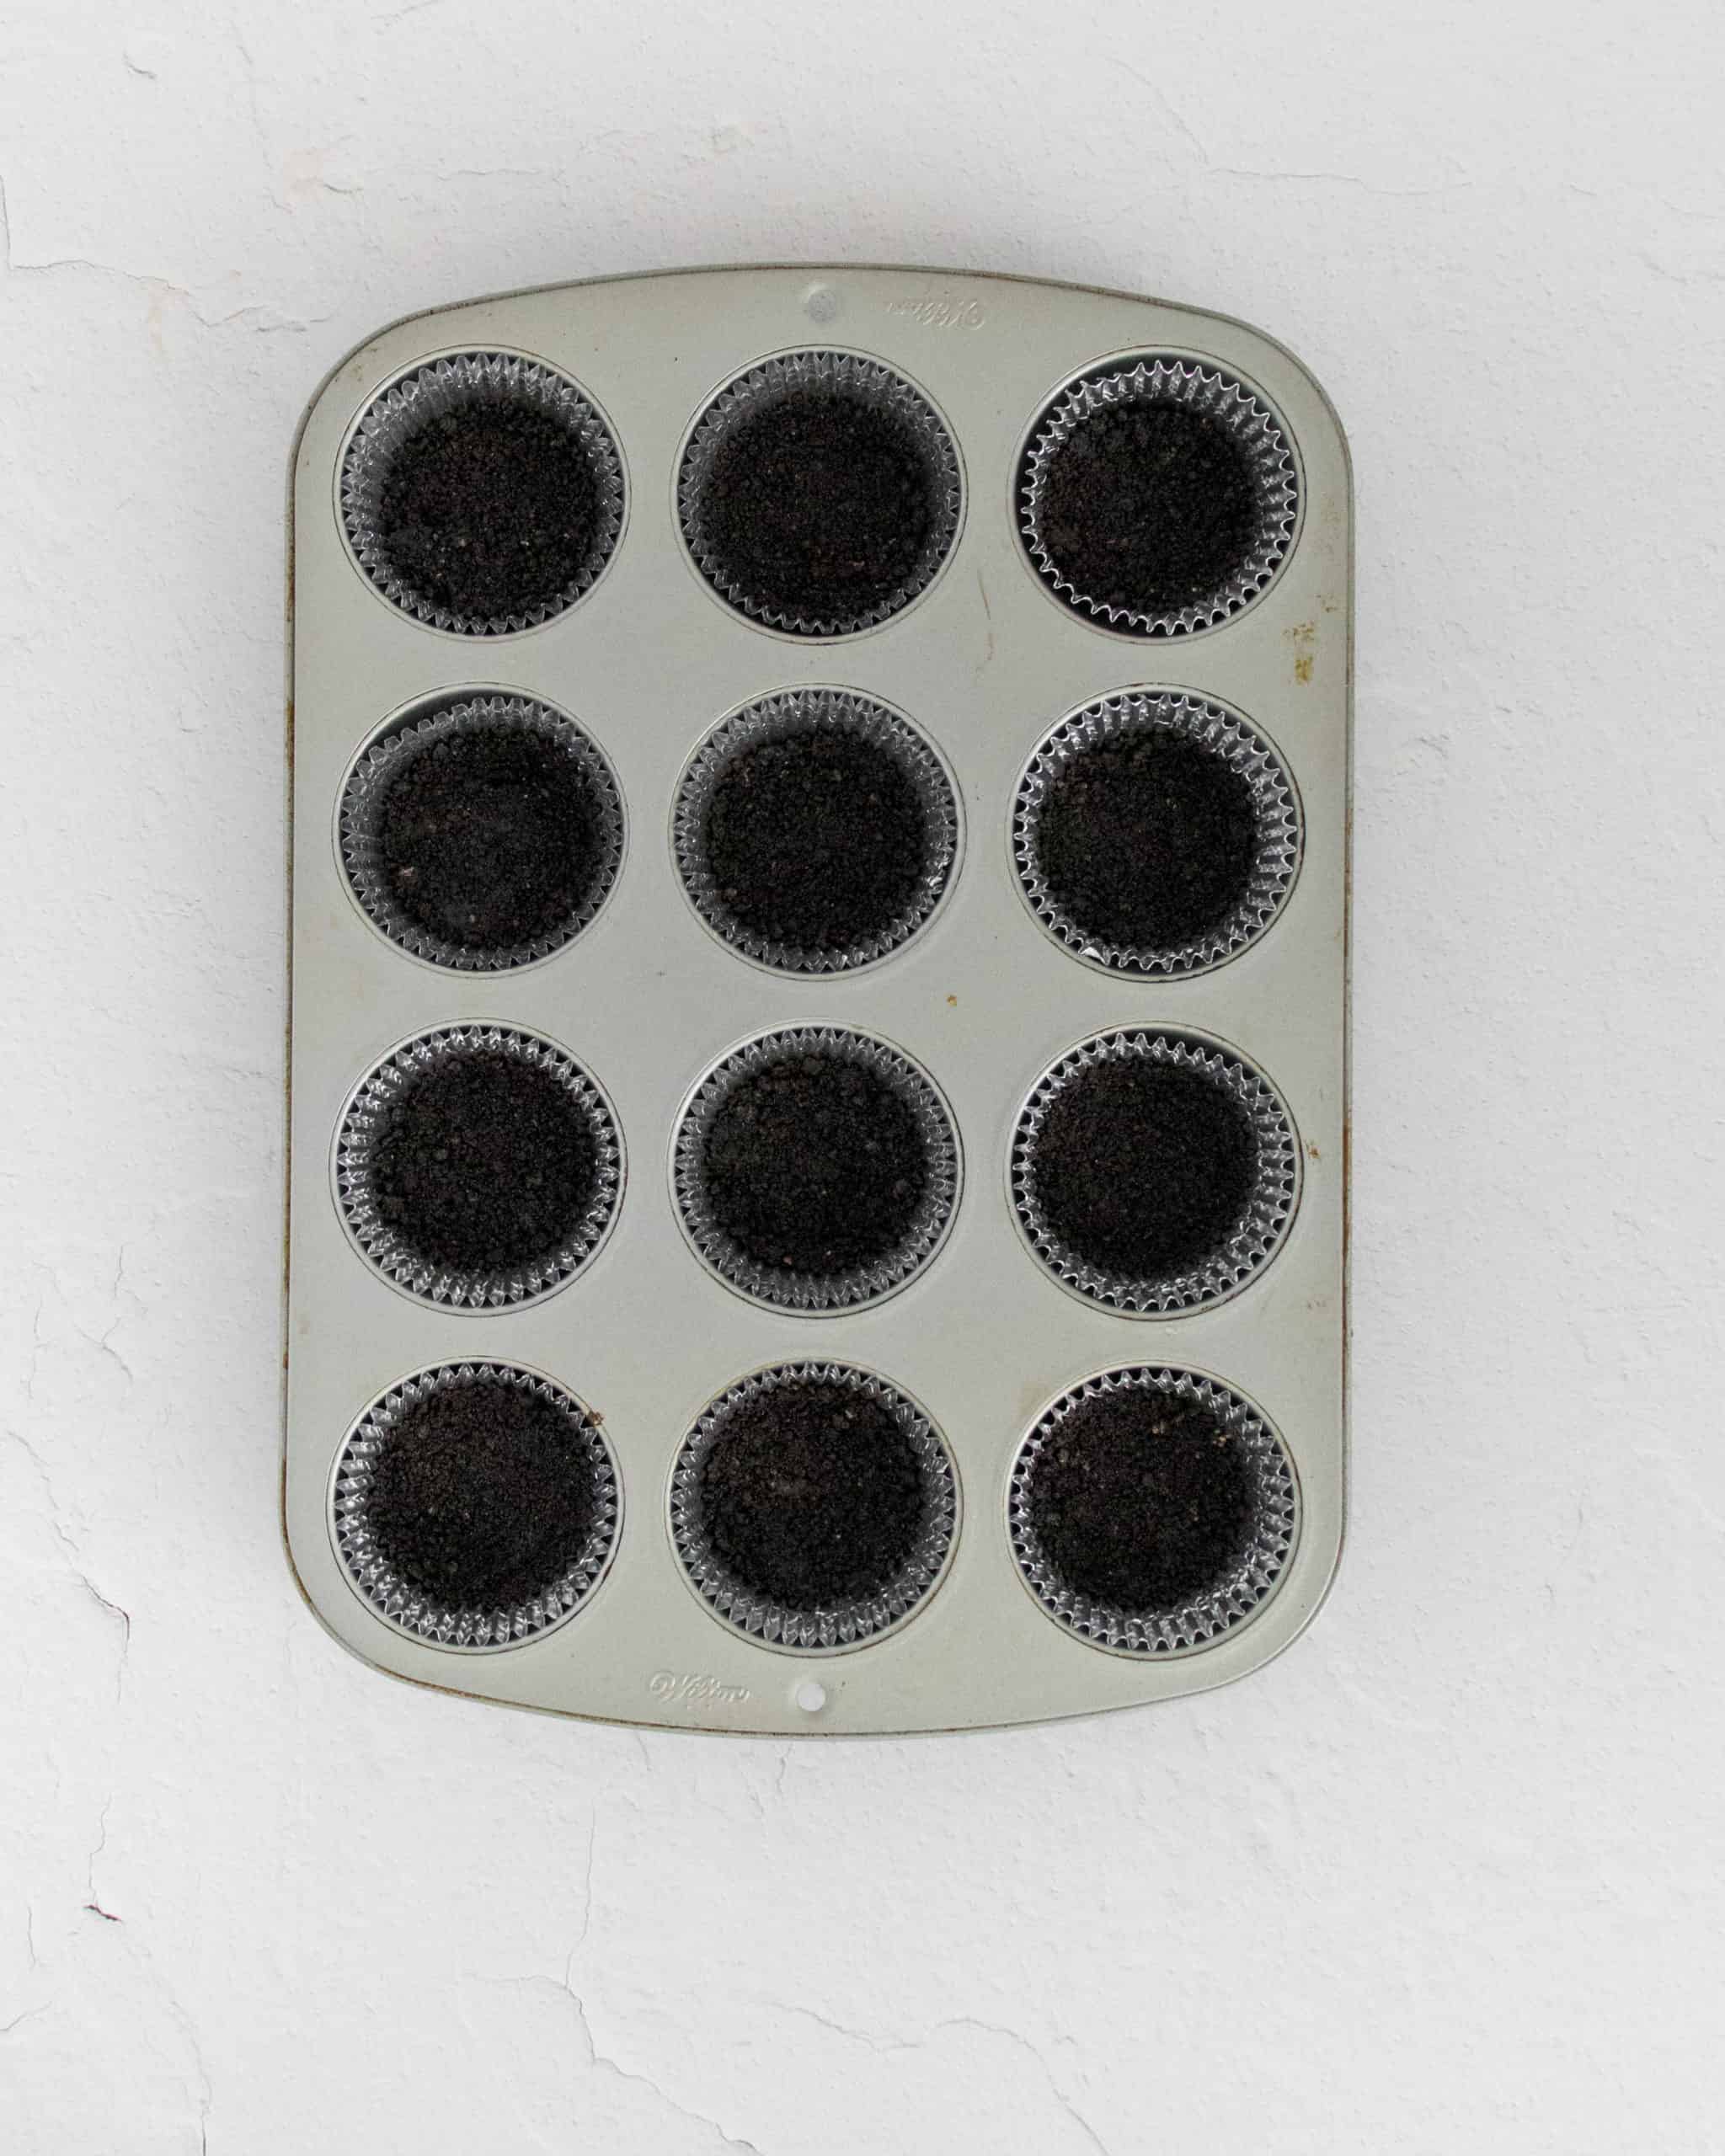
Note: The bottom of a shot glass works perfectly to pack the crust tightly into the muffin pan.
Make the Filling
Step 3. In the bowl of a stand mixer fitted with the paddle attachment, beat the cream cheese, sour cream, and sugar until it is light and fluffy– about 3 minutes.
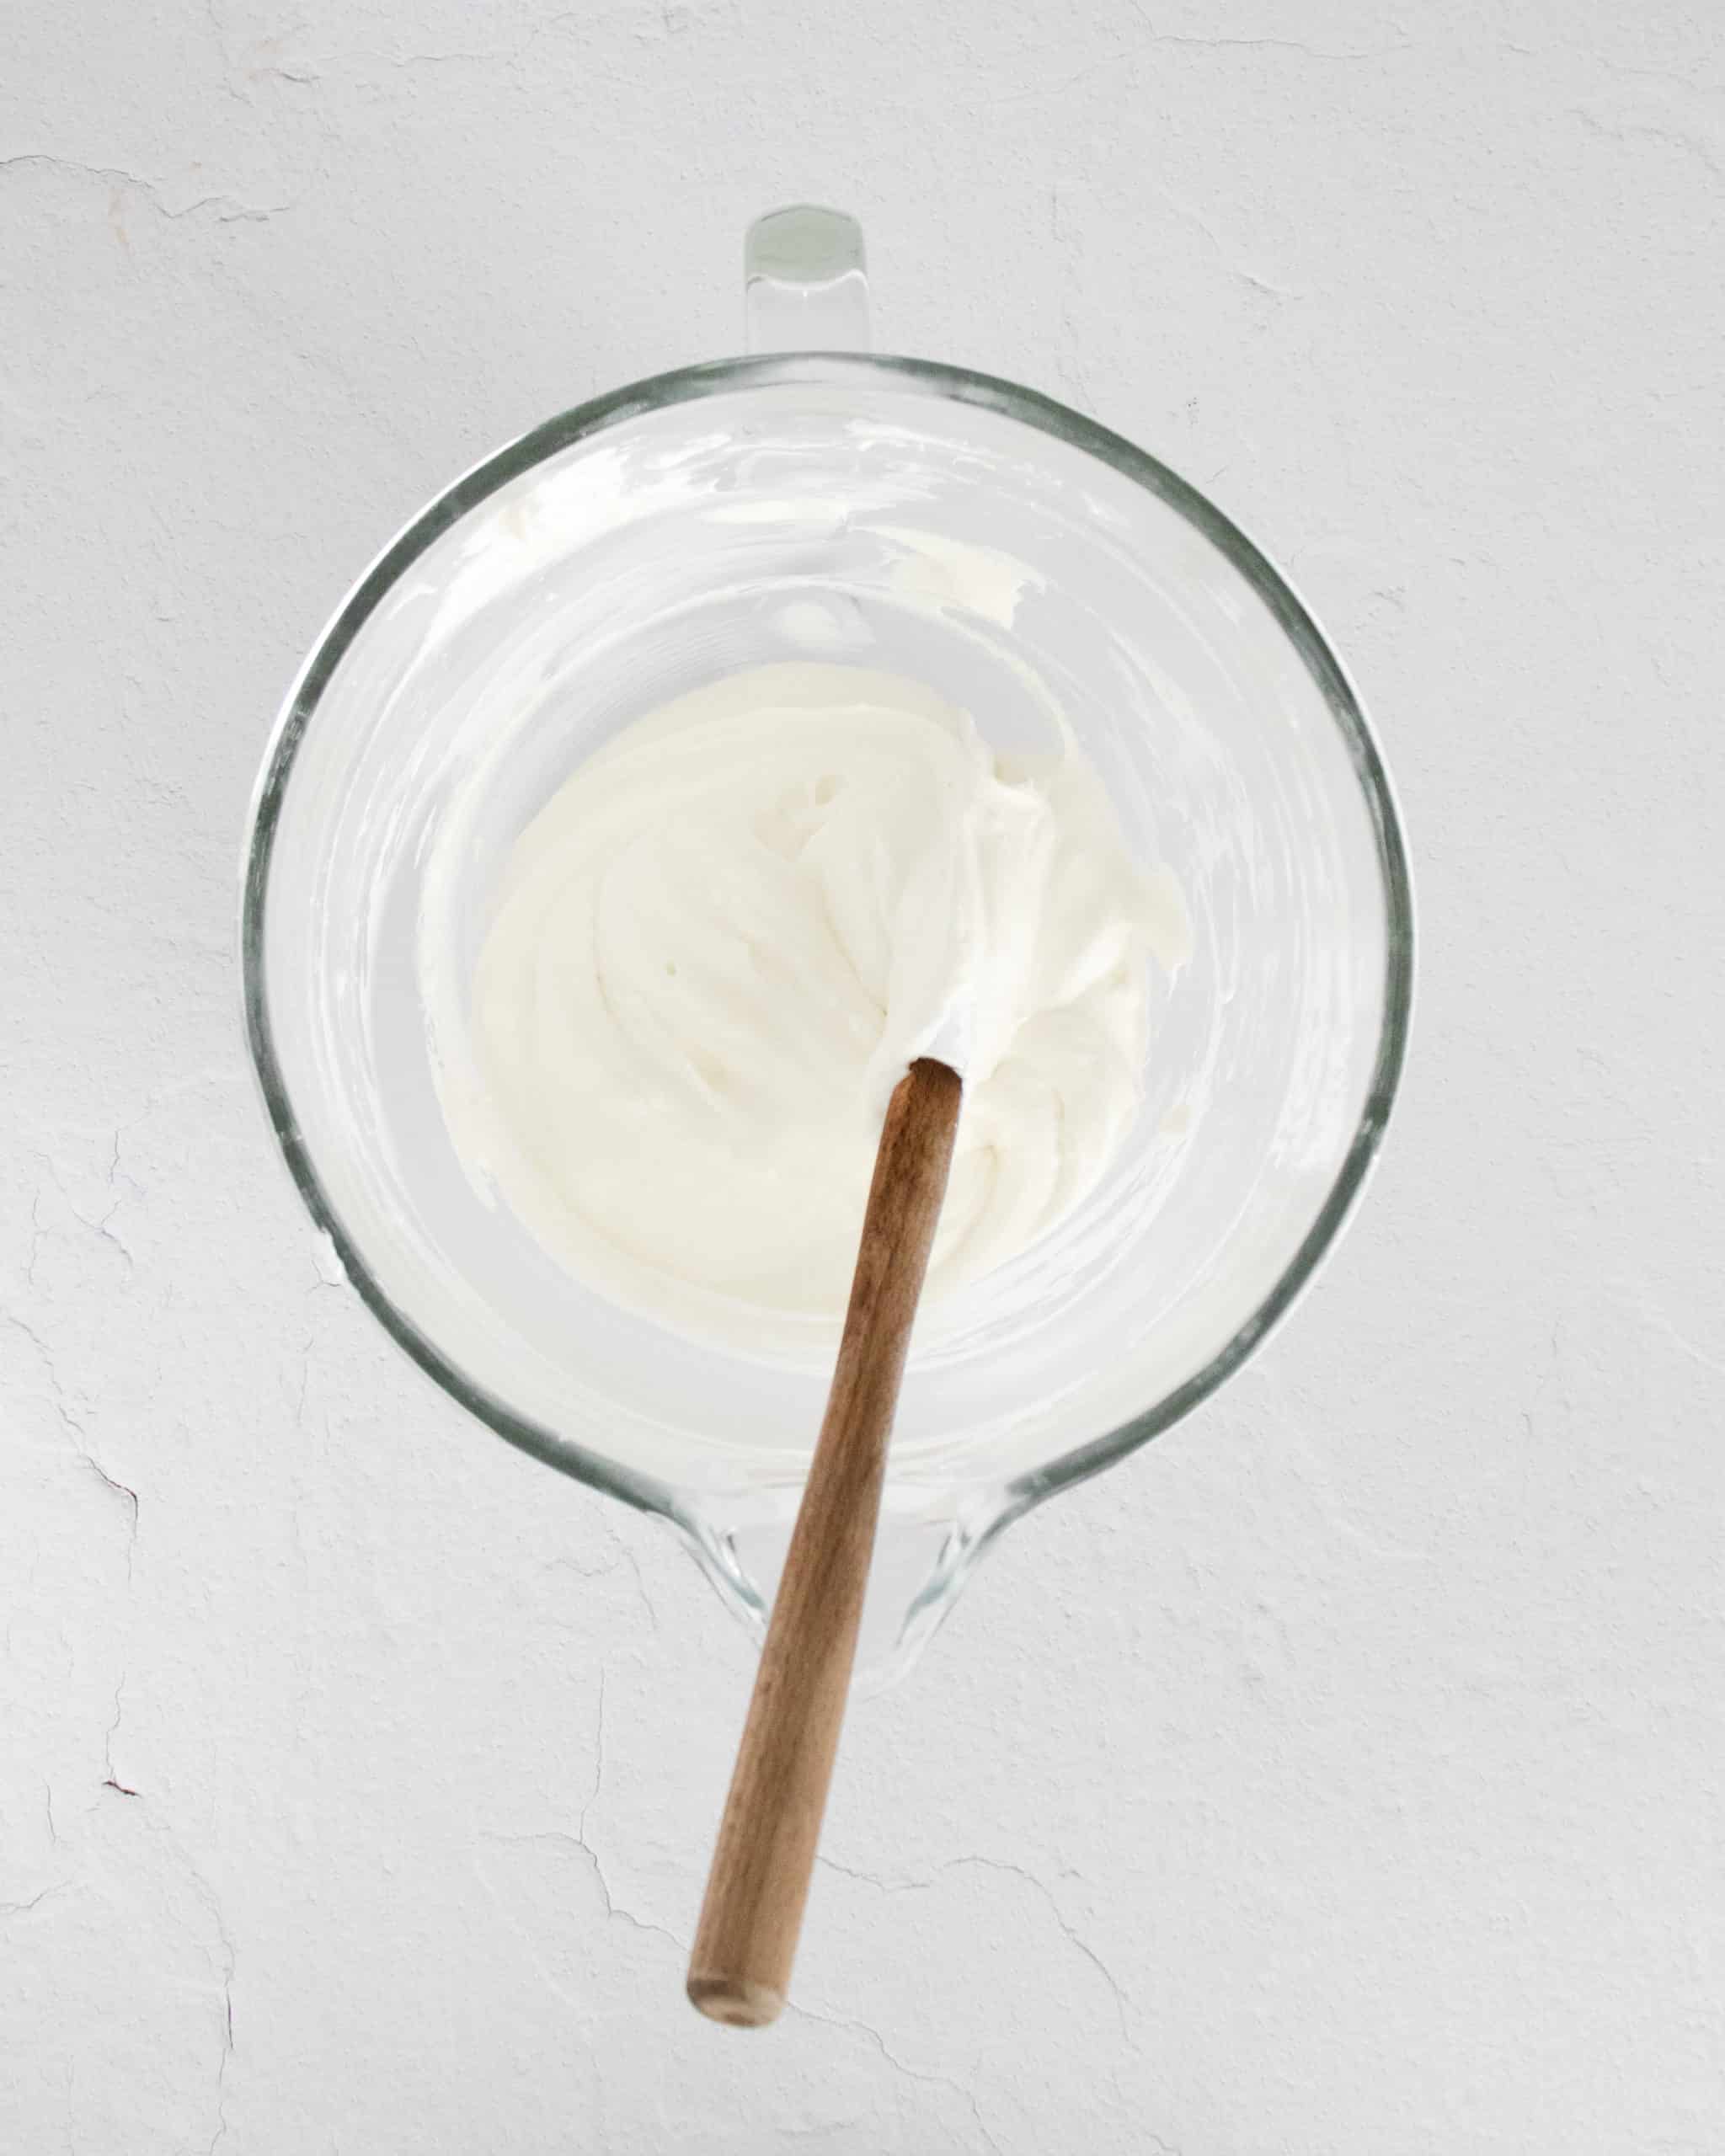
Step 4. With the mixer on low, add the vanilla extract and salt. Mix to combine.
Step 5. In a separate bowl, beat the heavy cream using the wire whisk until stiff peaks form— about 2 minutes on high speed.
Step 6. Add the whipped cream to the cream cheese mixture and fold it gently to combine.
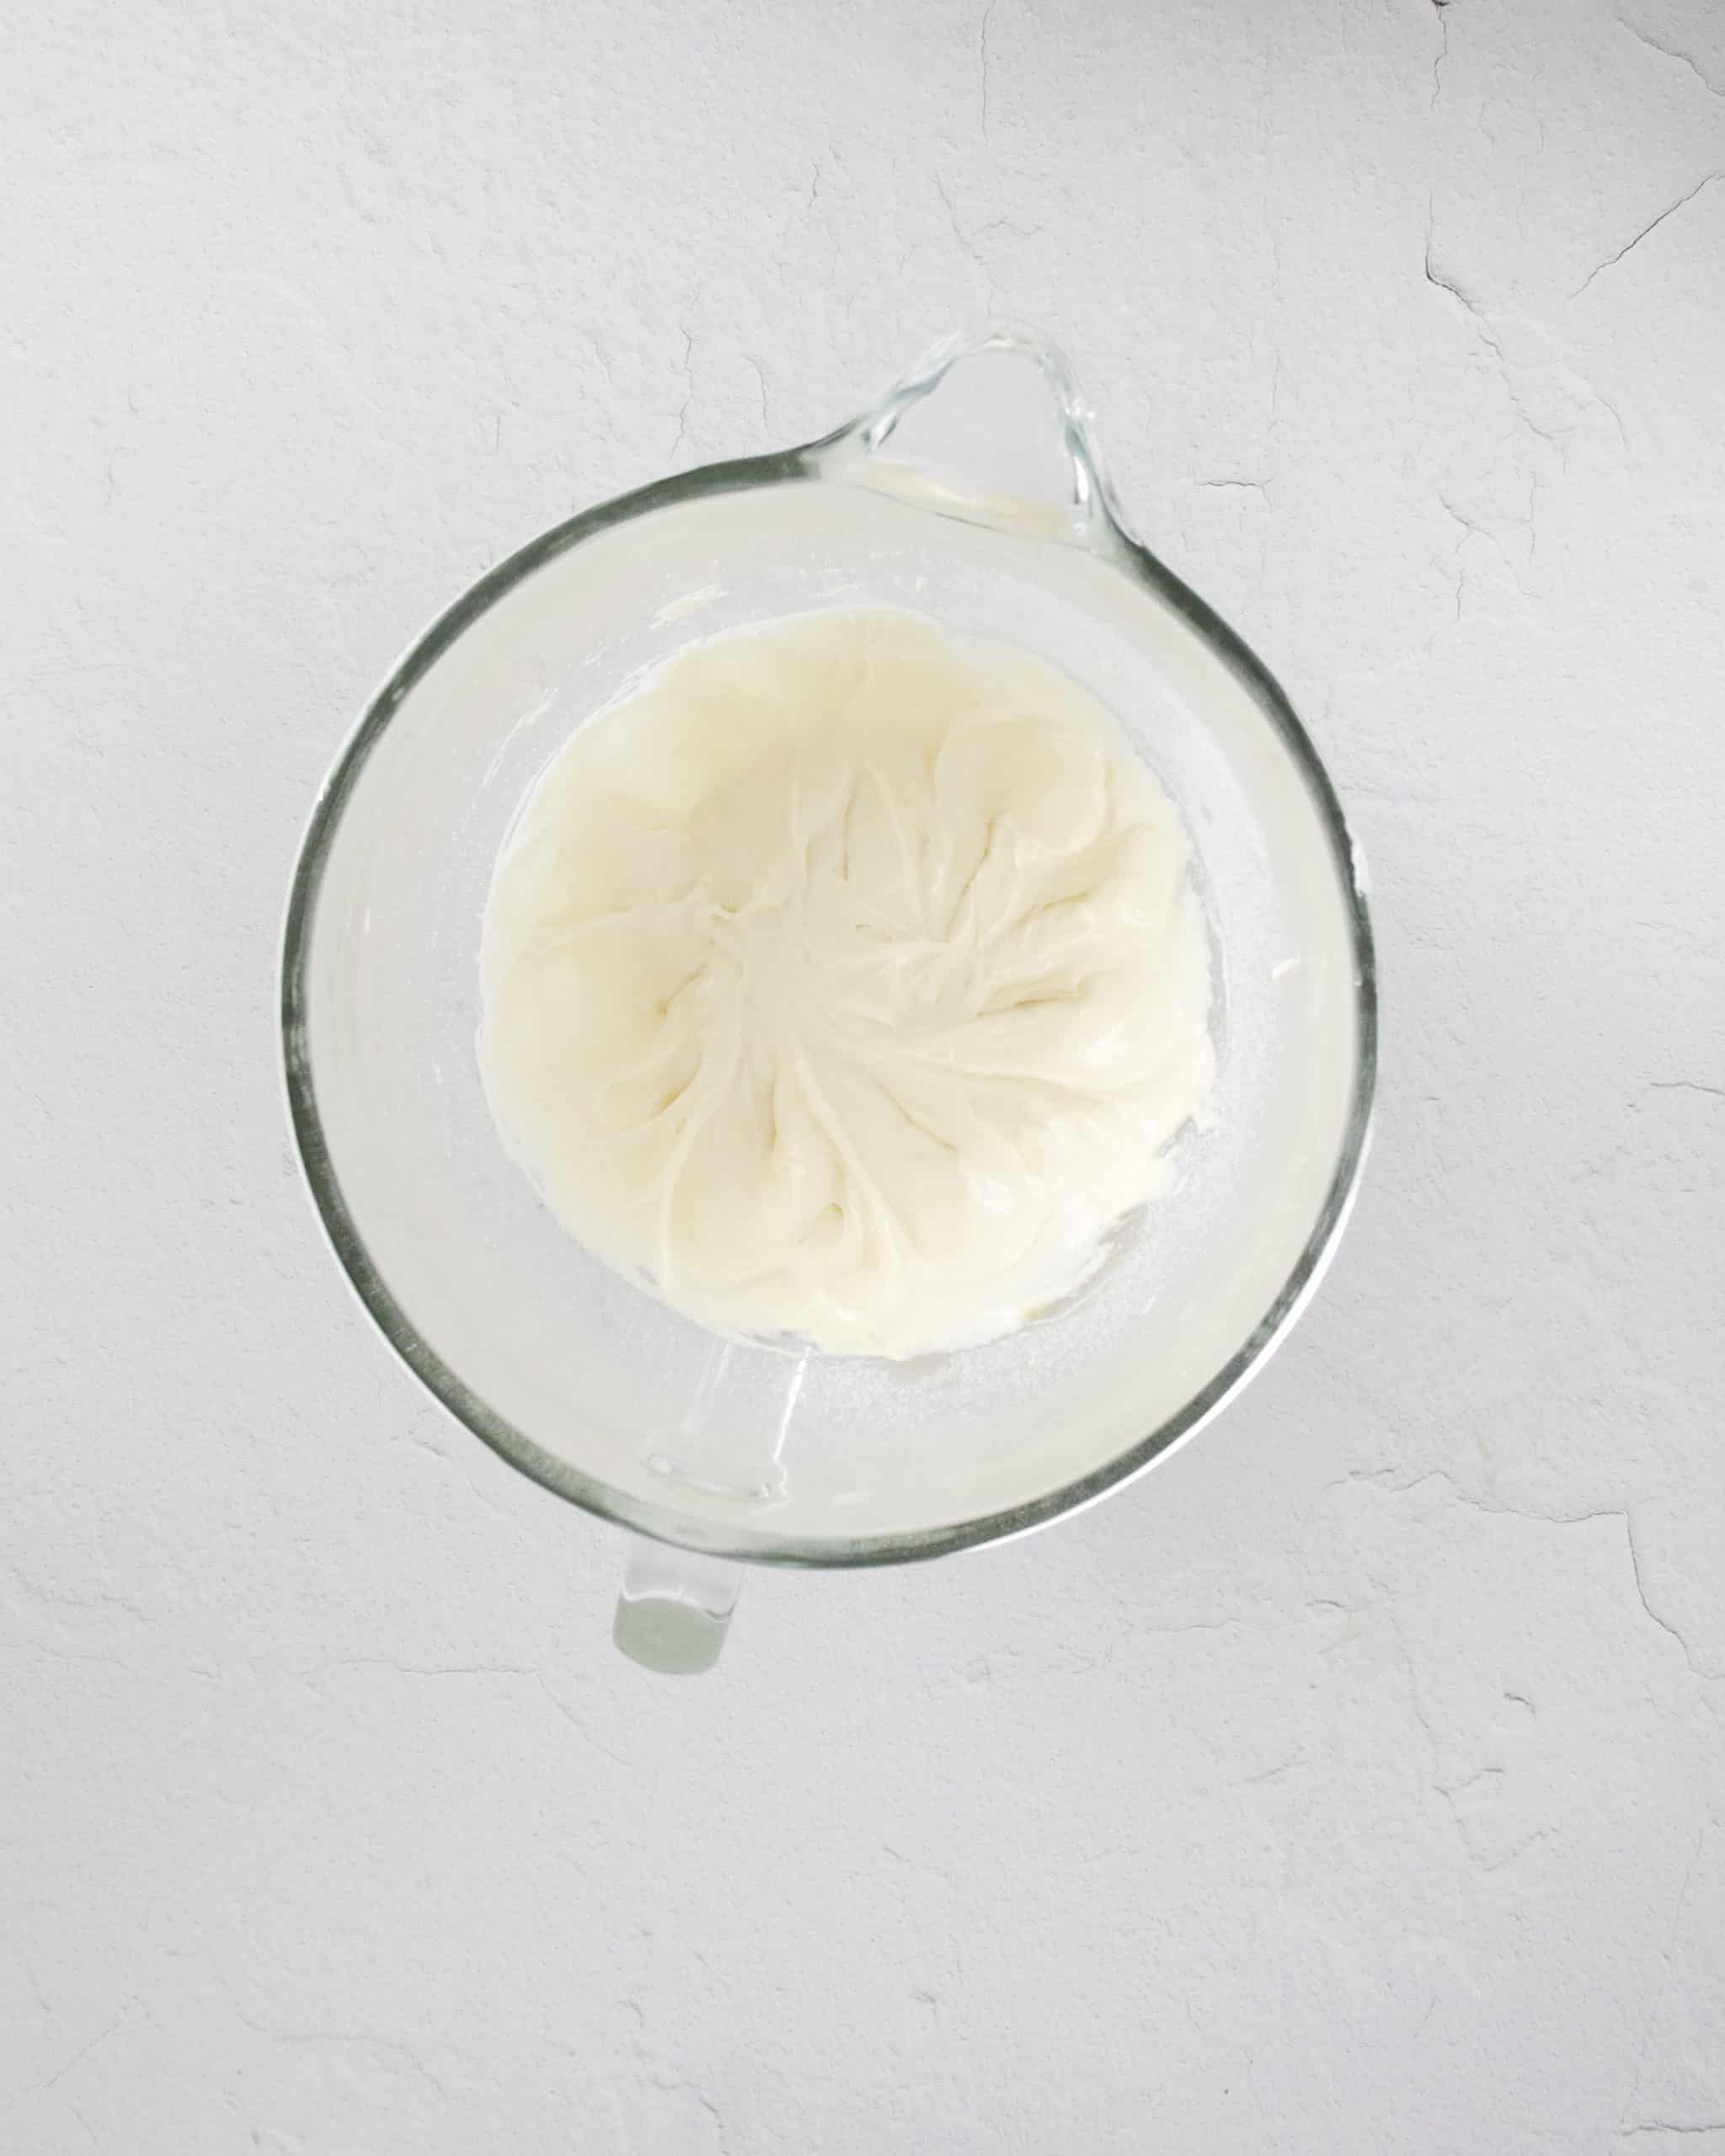
Step 7. Divide the filling evenly between the muffin tins. I use a ¼ cup cookie scoop to ensure they are all the same size.
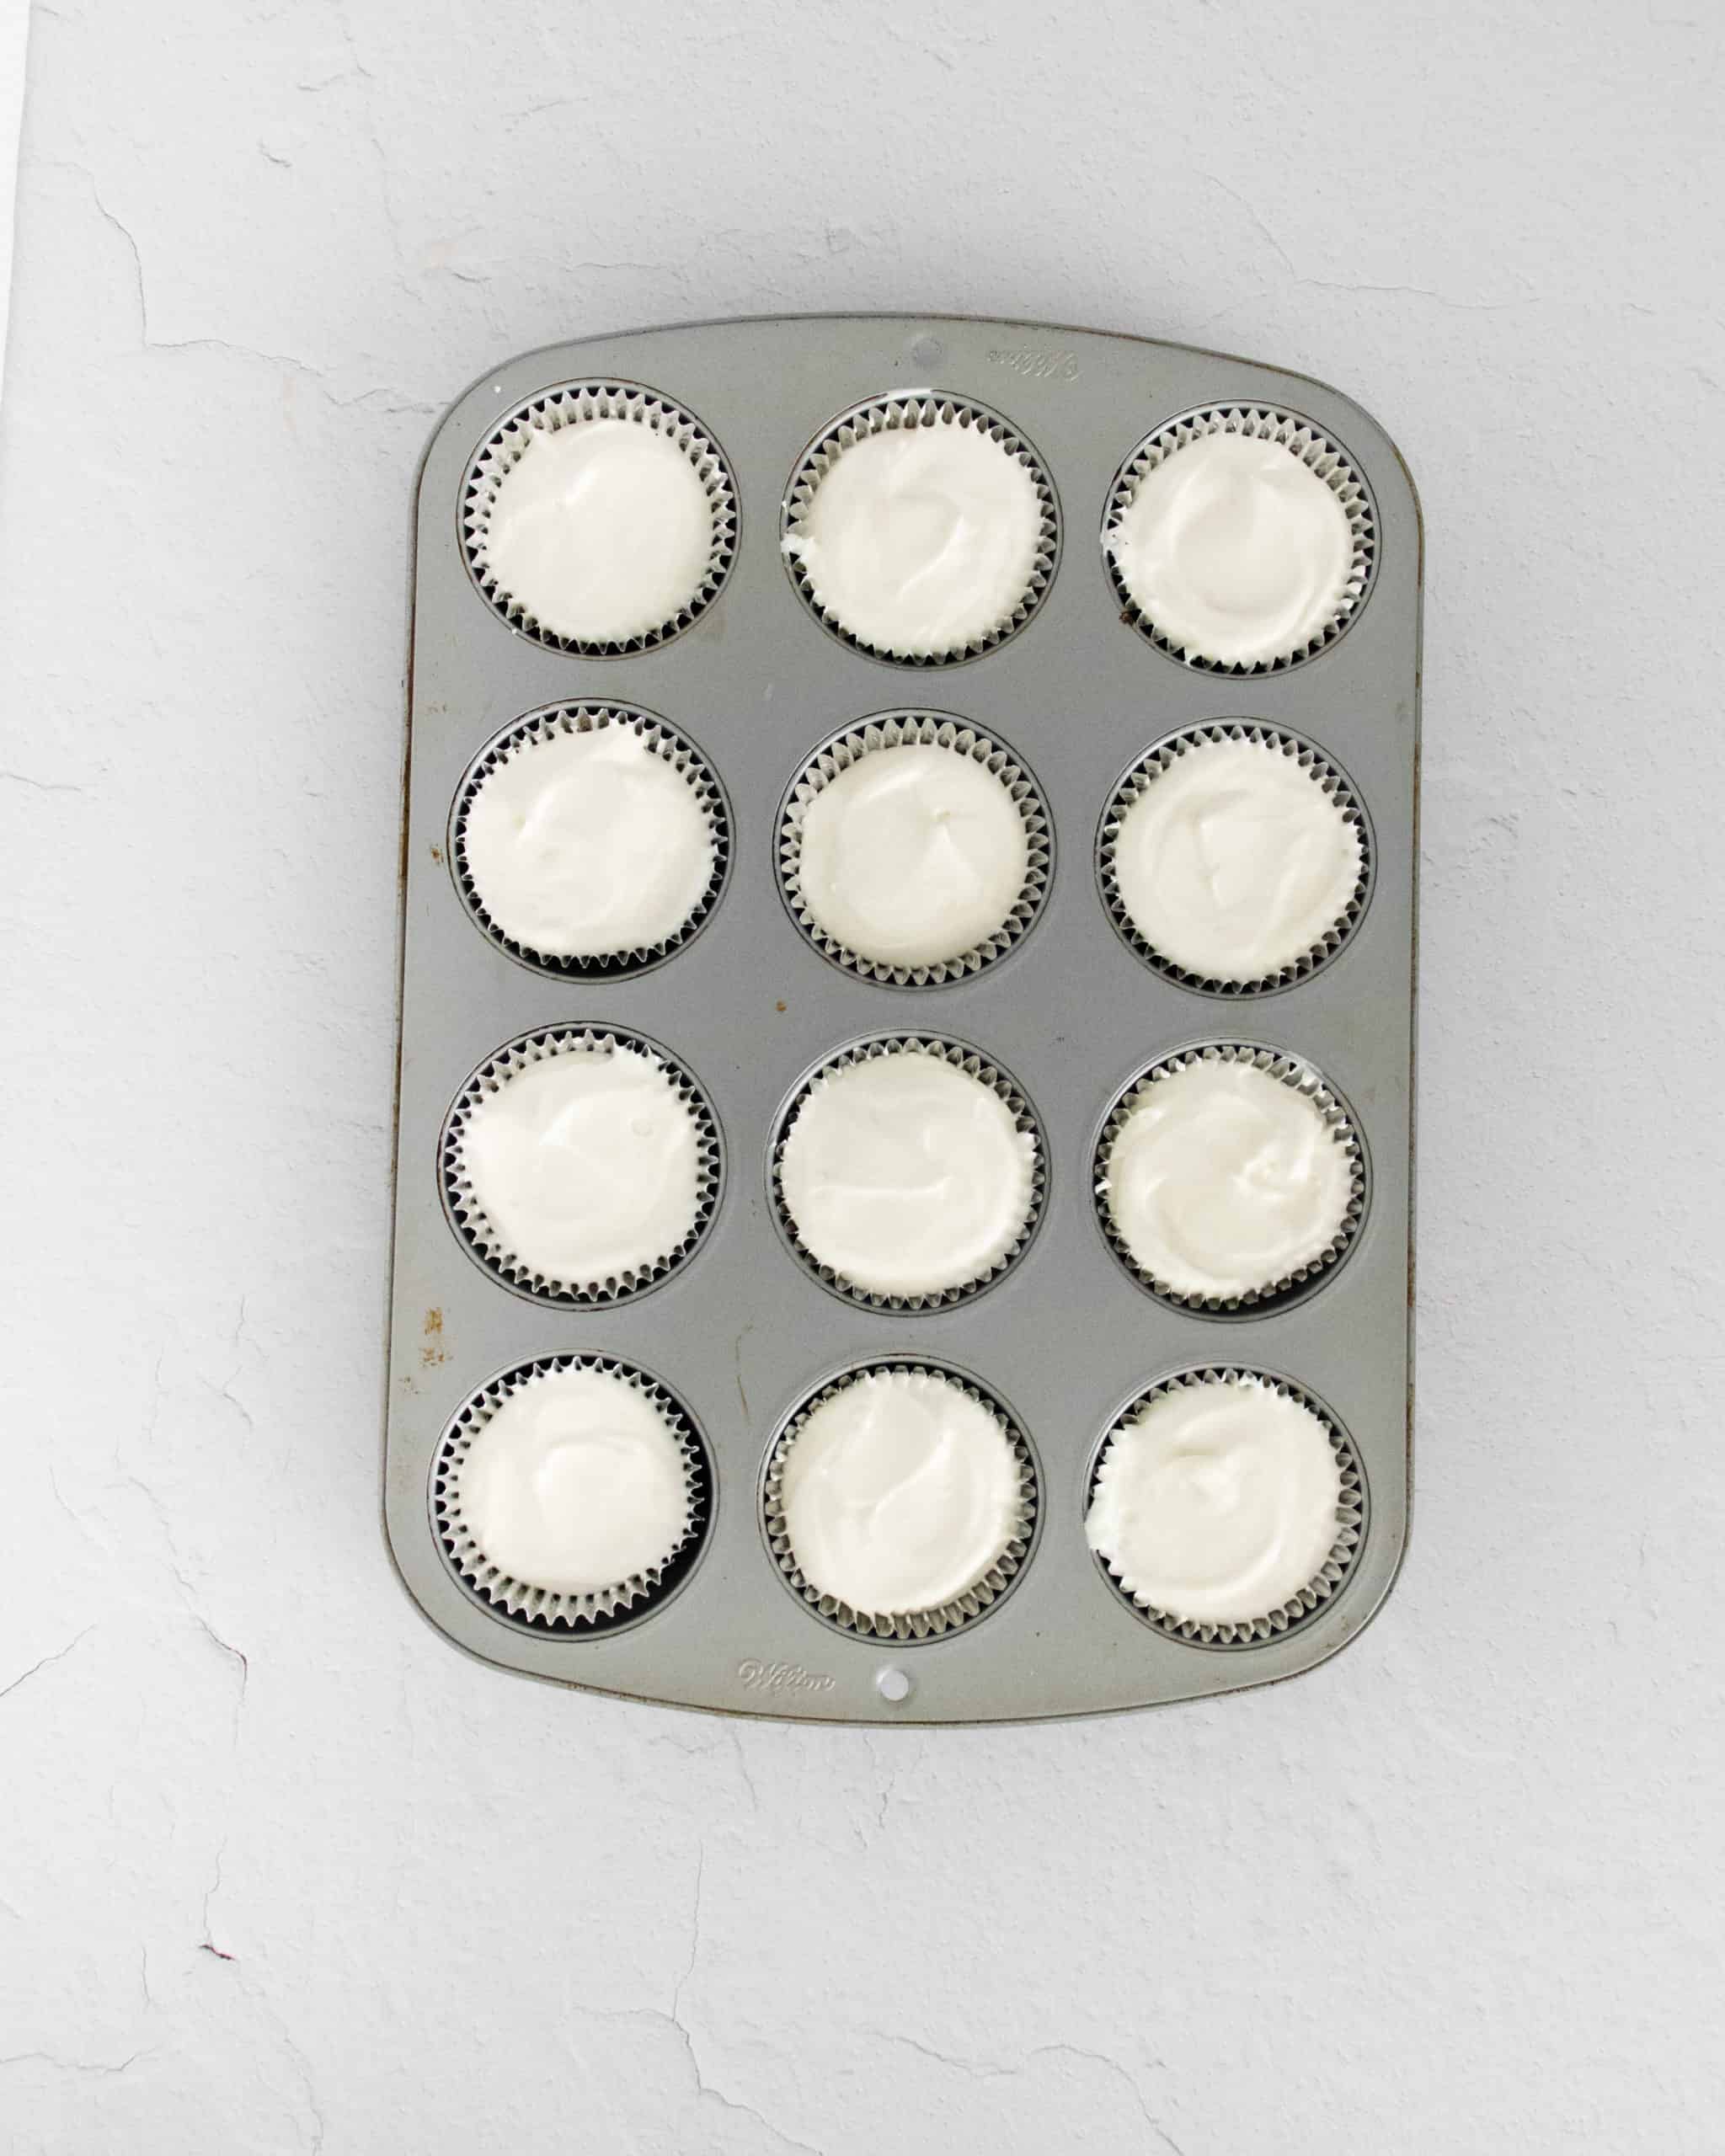
Chill & Serve
Step 8. Place the cheesecakes in the fridge to chill for at least 4 hours, although overnight is preferred.
Step 9. Serve chilled as the cheesecakes will soften as they warm. Leftover cheesecakes can be stored in an airtight container in the refrigerator for up to 3 days.
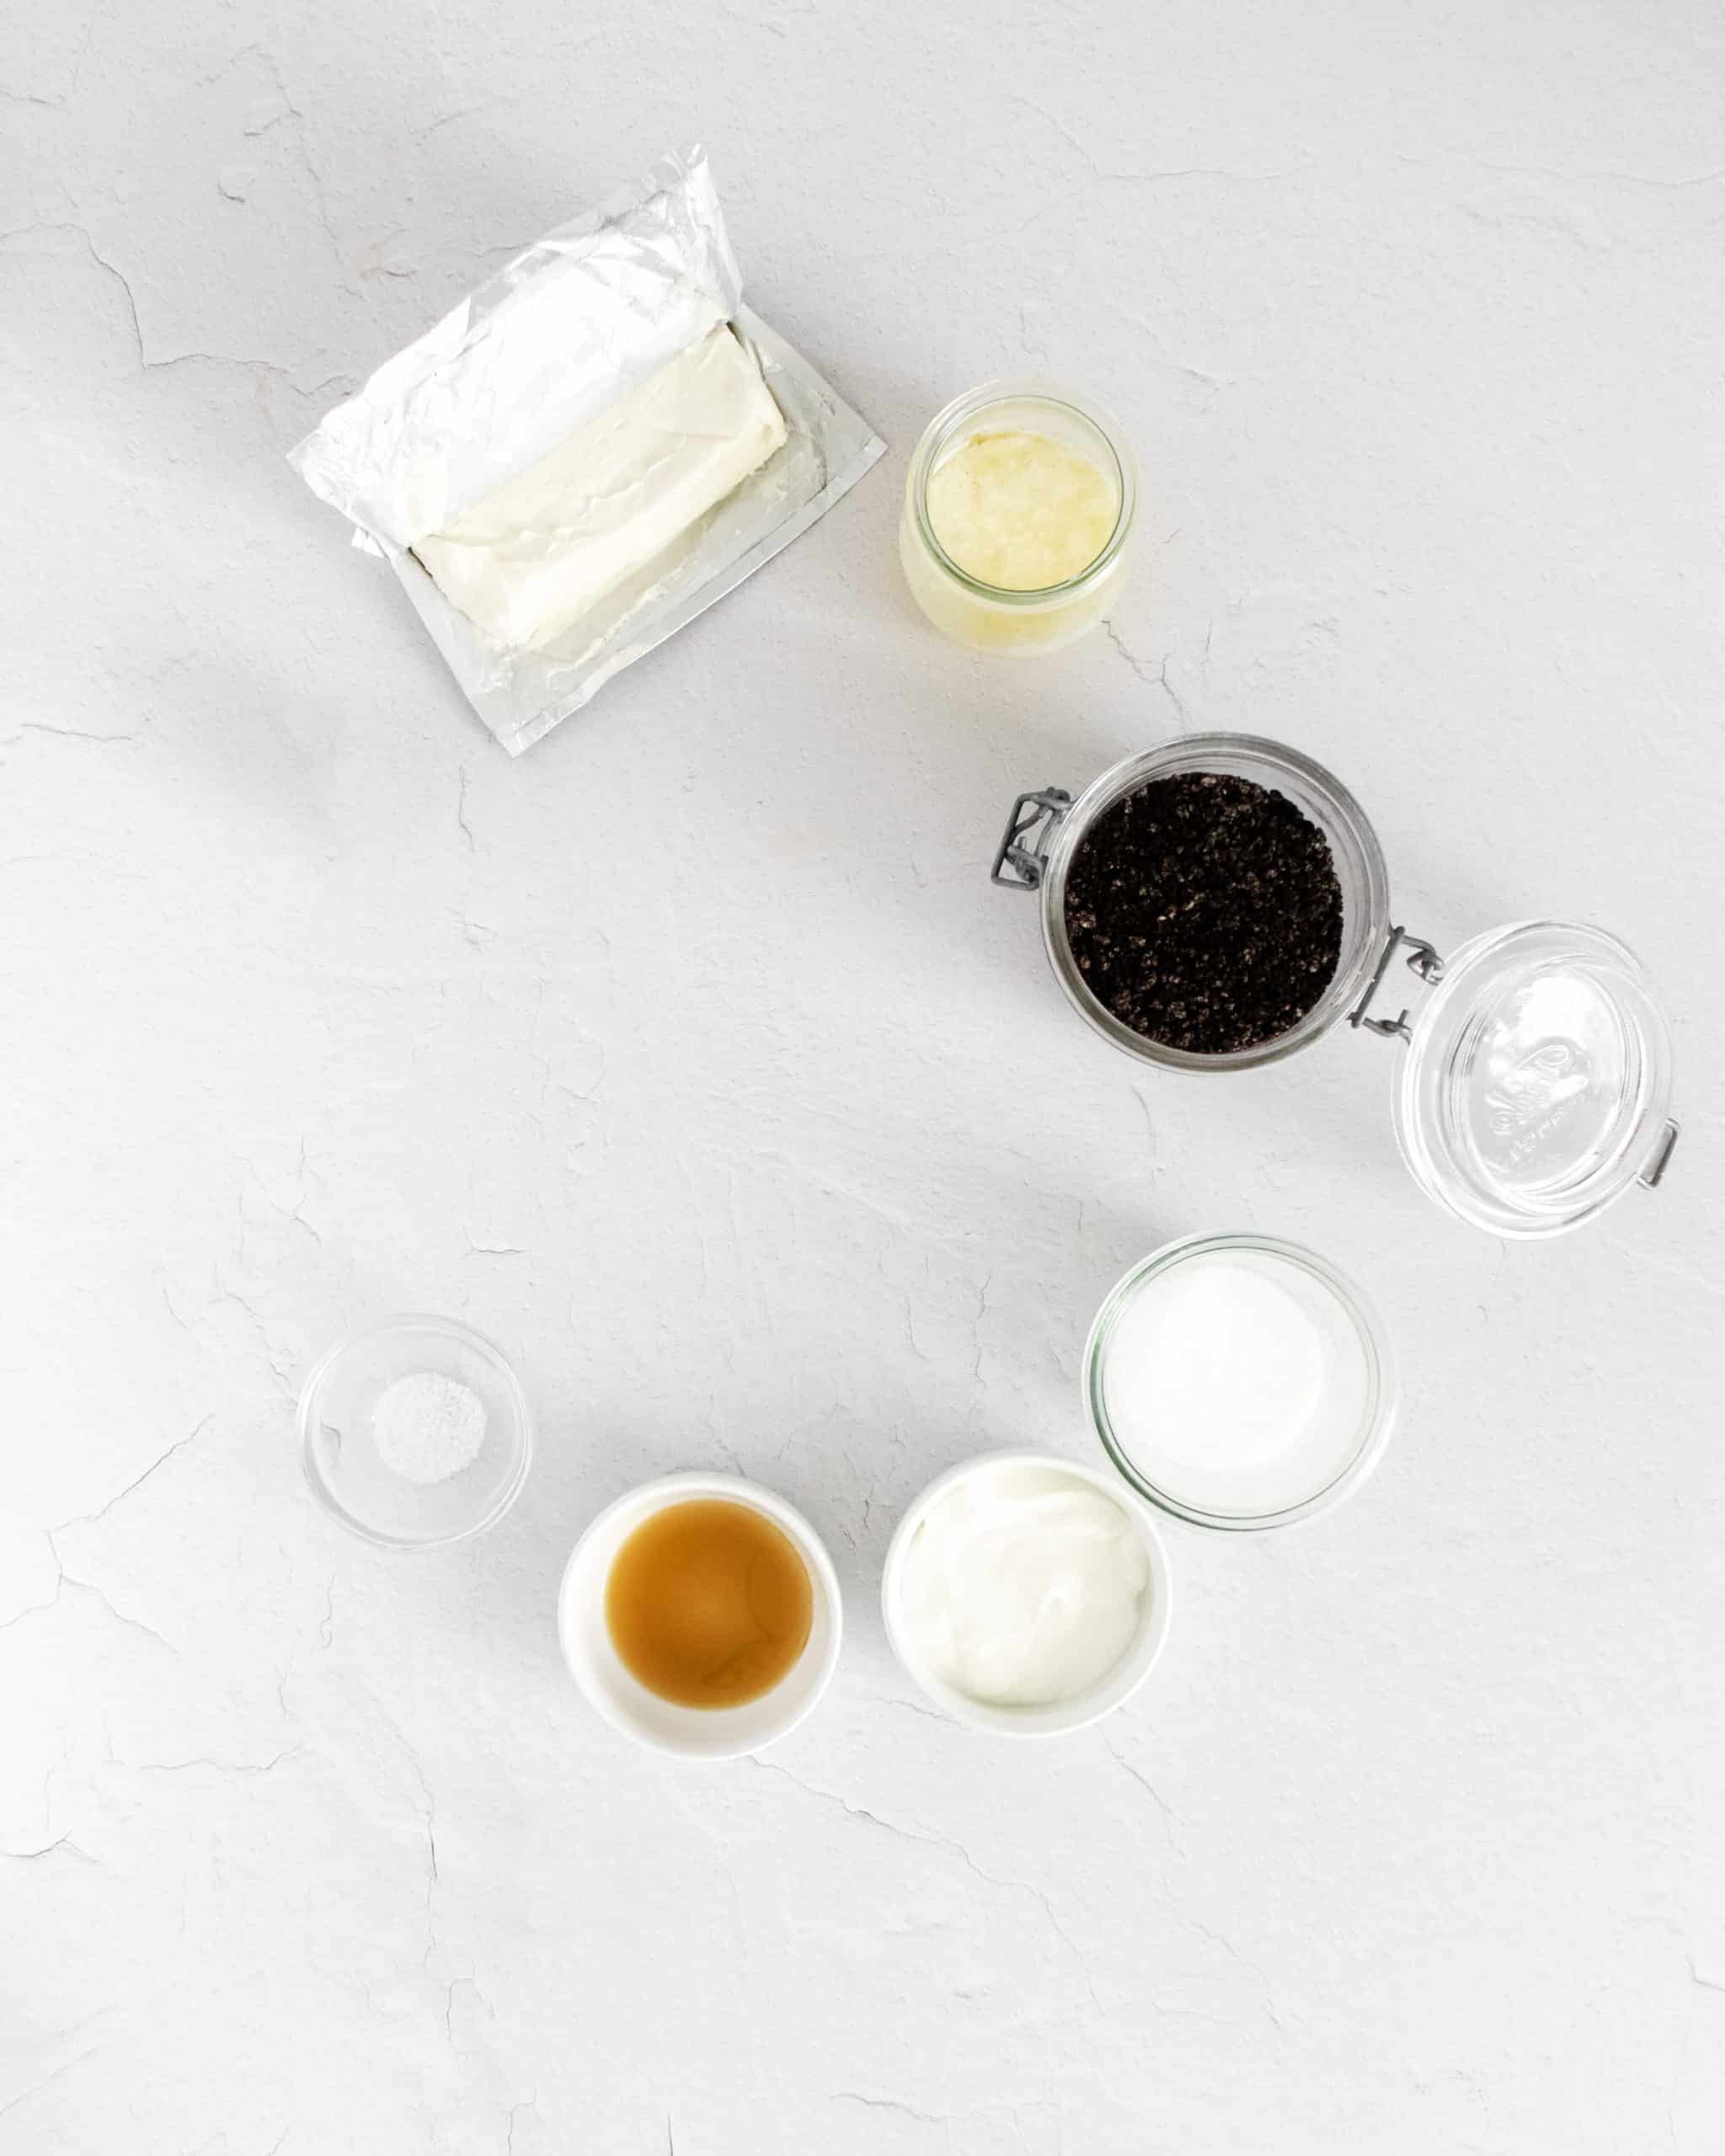
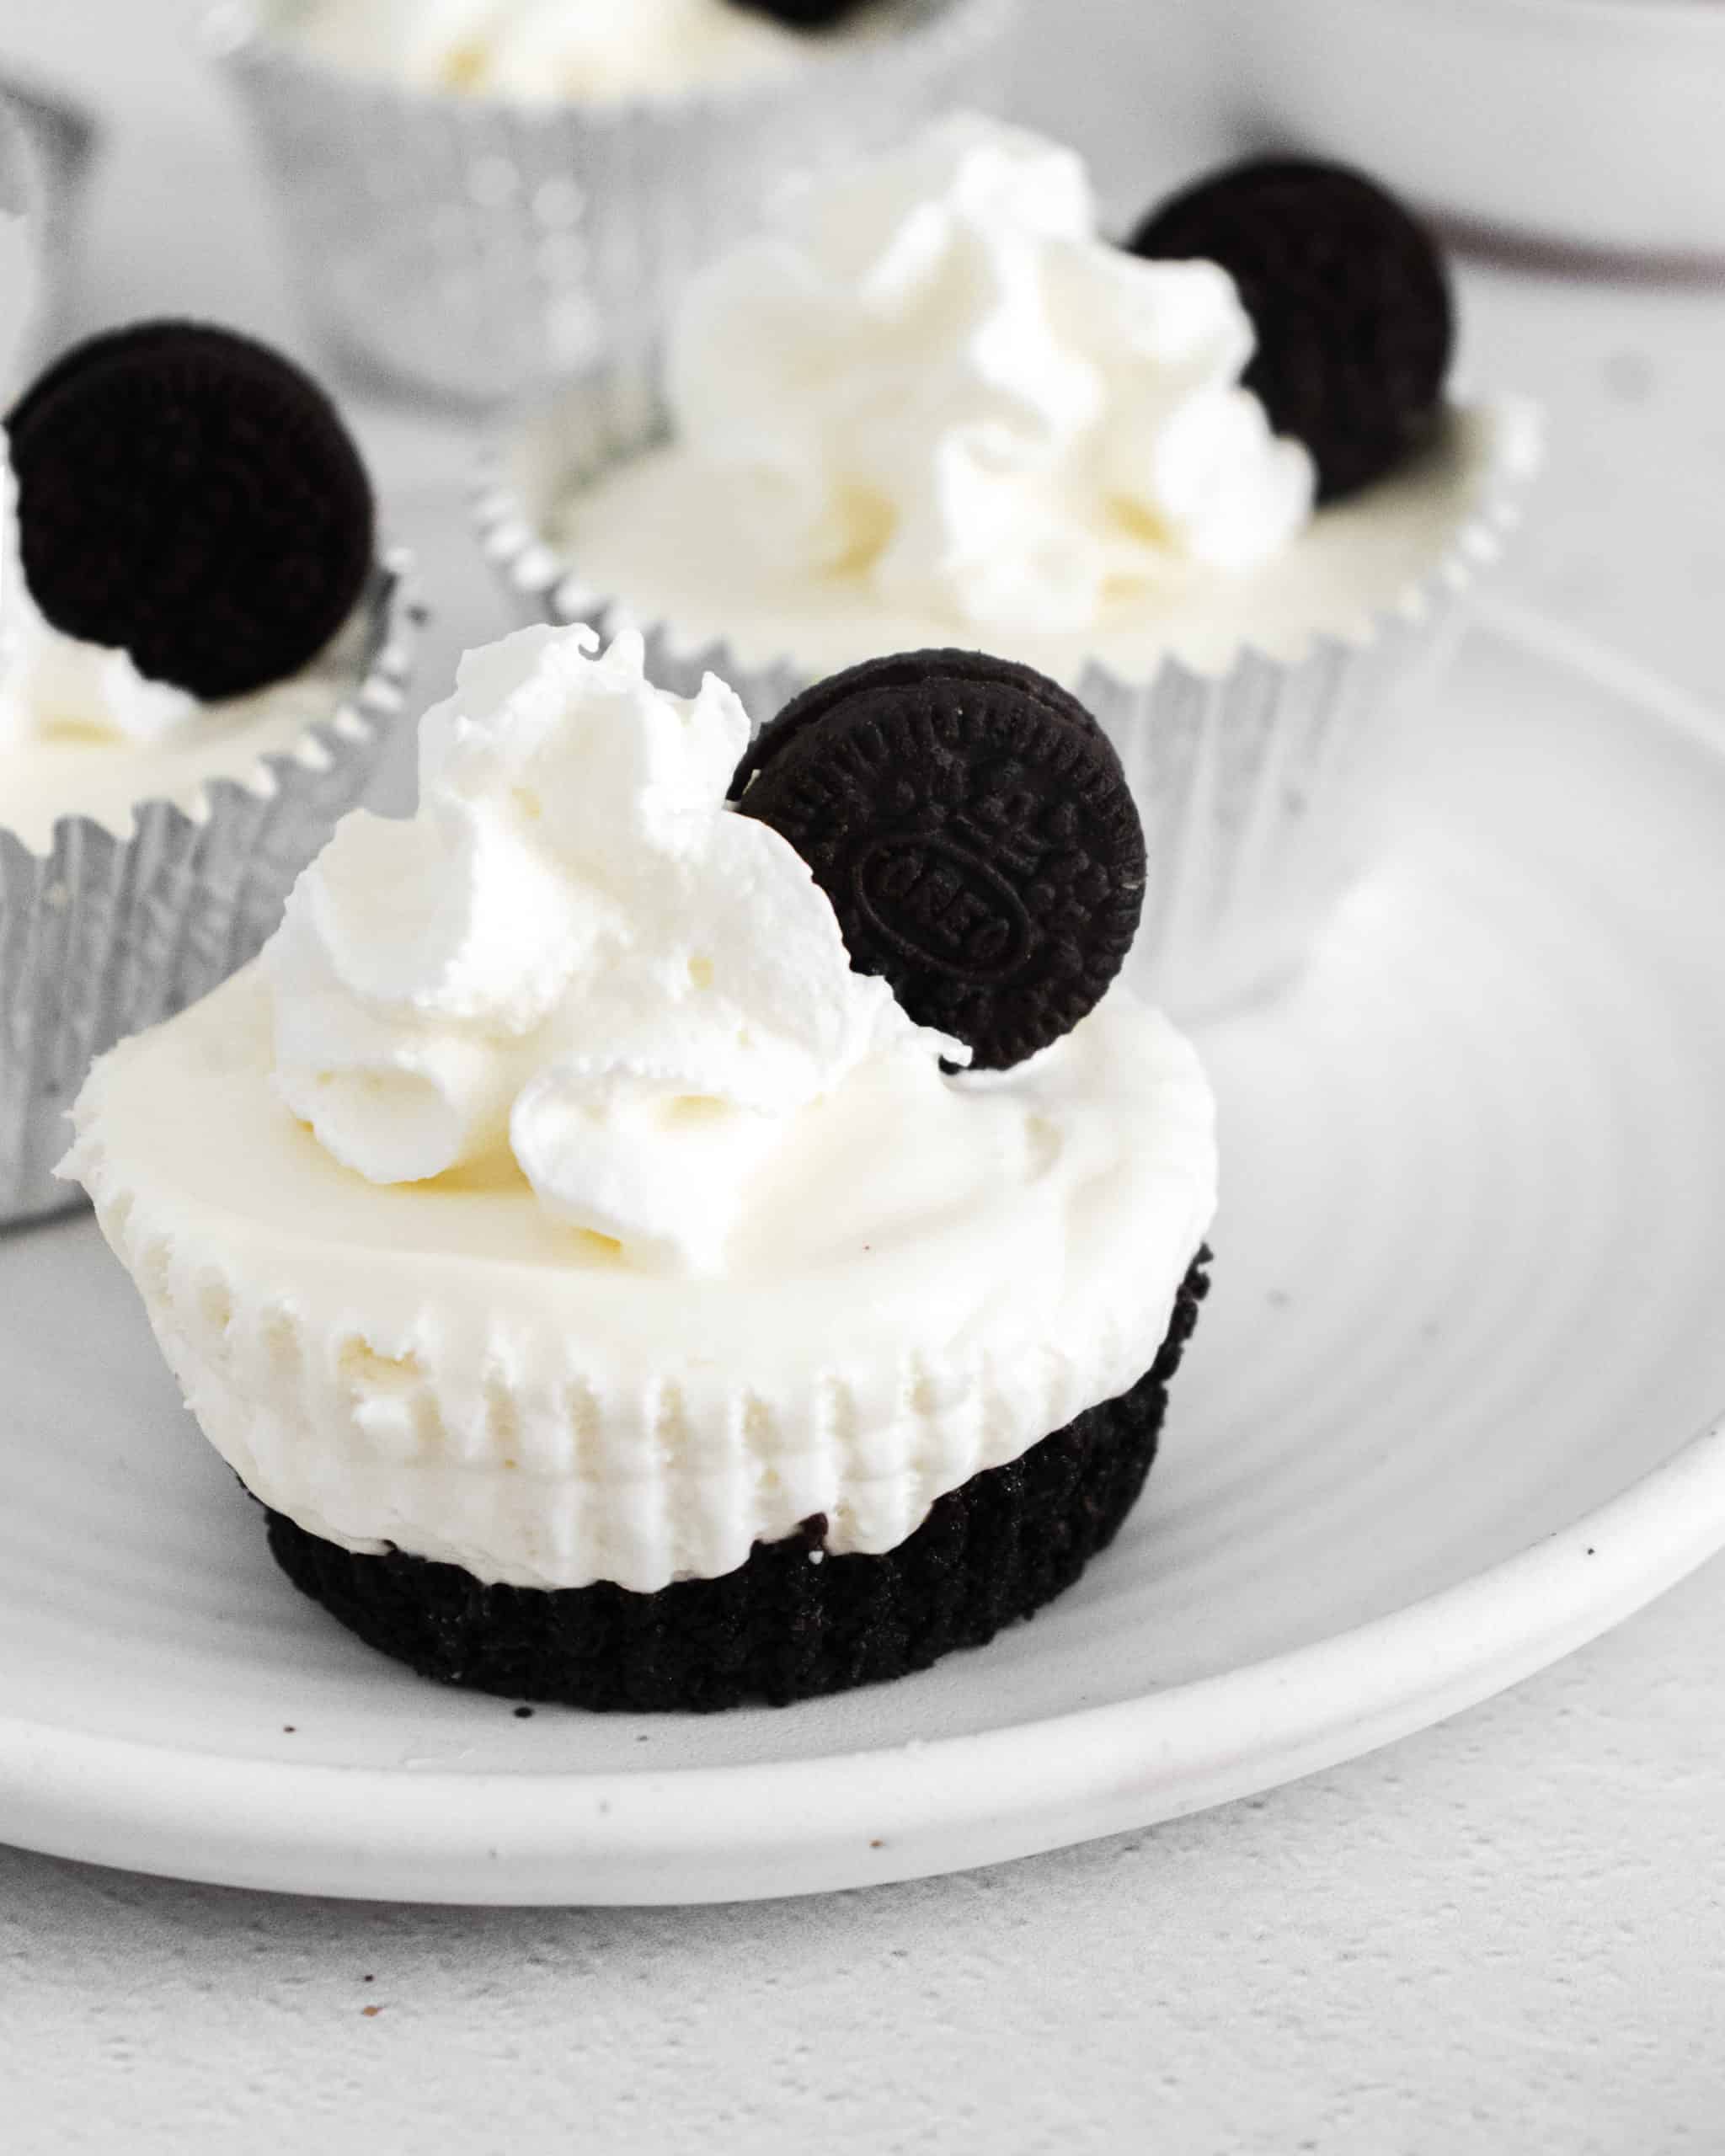
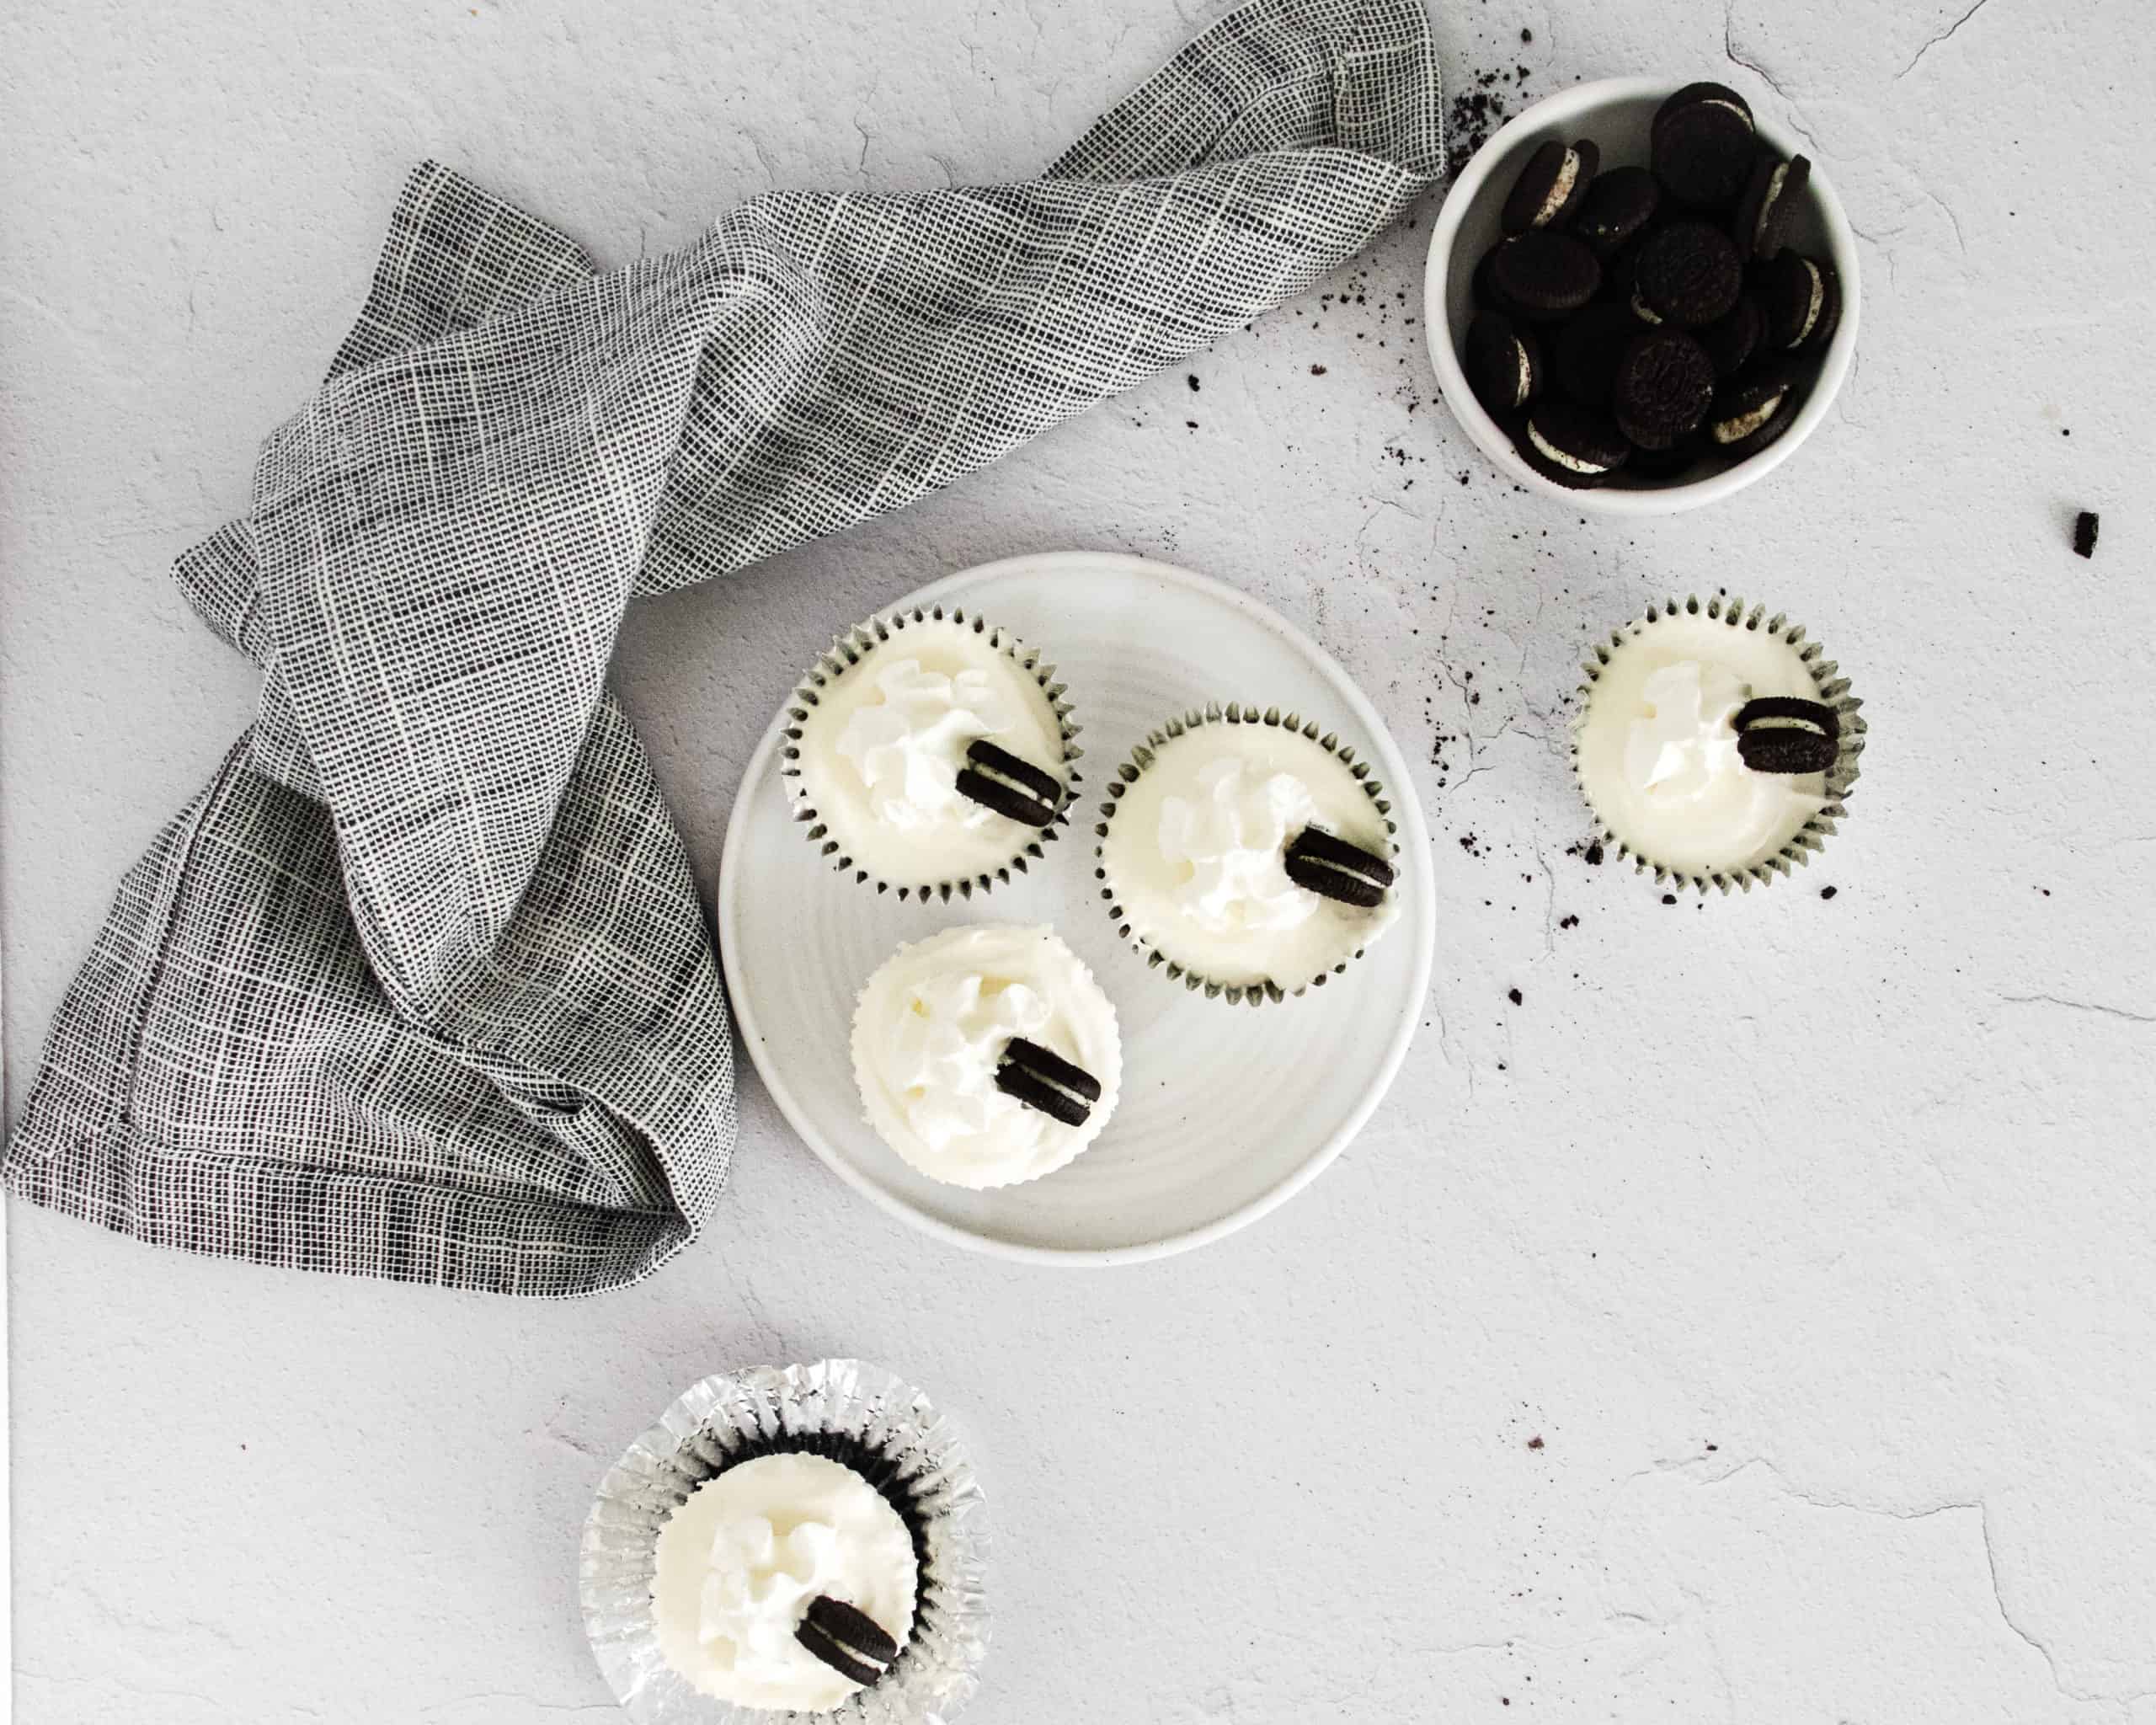
Step 10. If desired, top with whipped cream or crushed Oreos.
Recipe Notes
For a smoother, finer crust, remove the filling from the Oreos before turning them into crumbs.
Your cream cheese and sour cream must be at room temperature for them to incorporate smoothly. If you forget to set them out, you can microwave them for 10-15 seconds but make sure not to overheat them (you want them just barely warm, not hot).
You must use heavy cream in this recipe. Milk will thin the cheesecakes and they will not set properly.
Nutrition Information (per 1 cheesecake, 12 servings per batch)
- Calories: 227
- Total Fat: 16.5 g
- Saturated Fat: 9.4 g
- Cholesterol: 41 mg
- Sodium: 224 mg
- Total Carbohydrate: 18.5 g
- Dietary Fiber: 0.5 g
- Total Sugars: 12.2 g
- Protein: 2.5 g
All nutritional information presented is intended for informational purposes only. I am not a registered dietician or certified nutritionist, and the nutritional information should only be used as a general guideline. The nutritional information provided is a product of online calculators, and I cannot guarantee that this information will be accurate. These numbers should be considered estimates.
Liked this recipe? Then you’ll love: 15 Best Holiday Oreo Cookie Recipes
