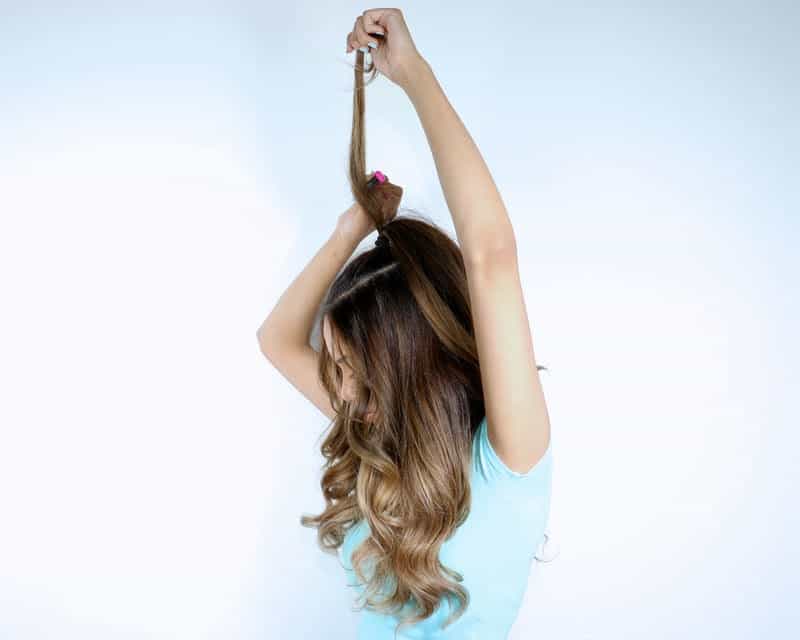
The Ariana Grande Inspired Half Up Ponytail Tutorial

Hey guys! Today I have this ultra-chic voluminous half up ponytail hair tutorial I would like to share with you today that’s inspired by Ariana Grande. It’s actually a fun twist of the half up ponytail for you to try. The look was done by Ariba Pervaiz who’s a contributor for Latest Hairstyles.
Here’s how she came up with the technique:
This ‘do is ideal for those days I want to wear my hair down and still add a bit of interest. The “V” shape parting adds just the right amount of edge to this playful hairstyle. The elastic in the pony is seamlessly concealed with the help of a strong hold hairspray. I learned this technique while working backstage at Toronto Fashion Week and I am super excited to share it with you! This half up pony works great with straight or curly hair. In this tutorial I will be creating texture in the form of bouncy waves. Let’s get started!
Ariana Grande Inspired Half Up Ponytail

Step 1. Create a diagonal parting starting at the center of your hairline, running back towards the crown on the right side.

Step 2. Create the same diagonal parting starting at the center point of your hairline and back towards the crown on the left side as well. Add a final horizontal parting to connect the two diagonal partings and create a triangular-shaped section.

Step 3. Tie off the triangle section with an elastic band.

Step 4. Place the ponytail forward and take a small section from the back of the ponytail. Tease the section several times. Continue teasing small sections of hair until the entire ponytail is teased.

Step 5. Take a small section from the ponytail and spray it generously with hairspray until it resembles a piece of ribbon. Wrap it around the elastic to conceal it.

Step 6. Generously spray hairspray to the ends of the section to secure it into place. You’re done!
You can also watch the step-by-step video tutorial below:

5 Comments