10 Actionable Steps To Take After Launching Your Blog
Disclosure: This post contains affiliate links, which means I may receive a small commission, at no cost to you, if you make a purchase through a link.
So you just launched your blog….now what?
First off, congratulations on your new blog! There’s a lot of work with blogging to make it successful. Granted, it typically takes a significant amount of time and effort to drive traffic to a new blog and grow a following. Still, there are things you can do to achieve this goal within a relatively short period. Here are 10 actionable steps to take after launching your blog.
Note: If you haven’t launched a blog yet, you can follow my easy guide here!
1. Create an “About Me” page
Your “About Me” page will likely be the most important page on your blog. This is because most people who visit your blog will likely visit this page to learn more about you and your blog. In essence, they’ll want to know if you’re an authority in your field or blogging niche. For this reason, you should create an “About Me” page that will not only make your blog audience trust and respect you, but also promote other pages on your blog. It should include information such as your education background, any special recognitions, awards and features that you or your blog has received, your work experience, as well as testimonials and success stories.
Additionally, your “About Me” page should also contain your contact details, including your social media handles. This will not only enable anyone who wishes to contact you directly to do so easily, but also help grow your readership. To promote other pages on your blog, you can include links or relevant keywords and tags to other pages.
2. Set Up Your Email List
If you want your blog to become popular and potentially generate significant revenues, you have to increase traffic to your blog and more importantly, grow your blog audience. One of the most effective strategies you can use to achieve this goal is email. In other words, you should set up your email list after launching your blog right away in order to allow your blog audience to sign up to receive emails from you in the future.
This is important due to various reasons. Firstly, email offers a direct and personal way to communicate with your blog audience, particularly the ones who are interested in your content. Secondly, an email list would allow you to own your own marketing channel that is not influenced by social media algorithms and policies, which tend to change from time to time.
Thirdly, according to a recent study by SmartInsights.com, email marketing has been the most profitable digital marketing strategy over the last decade, producing an ROI of nearly 4,000% over that period. Put another way, email is the most effective blog monetization strategy available today. Other benefits of email include flexibility, cost and customization.
There are two email list builders I’m loving right now: Mailchimp and Convertkit. For newbies who are looking for a more cost effective option, I would check out Mailchimp. Apart from organizing and managing your subscriptions, Mailchimp evaluates and tracks the performance of your email marketing campaigns. Plus, they offer a “forever free plan” for individuals who send less than 12,000 emails monthly or have less than 2,000 subscribers… perfect for bloggers who are just starting out or have a small email list.
Once you outgrow Mailchimp or don’t mind the extra expense of an email service provider from the start, sign up for Convertkit. There’s a reason why almost every blogger raves about it. Convertkit was built for creators by creators interested in building businesses. It’s very easy to use and set up with prices starting at $29/month.
Again, set up your email marketing as soon as your blog launches and remember to keep your email list updated at least weekly so your subscribers won’t leave.
3. Create Social Media Handles
Social media marketing is one of the most effective digital marketing techniques today. Fortunately, you can use this strategy to market your blog and grow your following. In particular, social media will allow other people to share your content, improve your blog’s domain authority and attract more traffic. Of course, to enjoy these and other benefits of social media, you need to create social media handles. Before you do this, it is important to note that different social media platforms serve different purposes. For this reason, social media platforms are generally classified into different categories depending on their application. These categories include:
- Core social network platforms: These are essentially the age-old social networks such as YouTube, LinkedIn, Facebook and Google plus. You can use these platforms to promote your blog as well as connect and network with other blogs in your field.
- Social apps: Social apps such as Skype, Instagram, Whatsapp and Snapchat are becoming increasingly popular in the social media marketing space, meaning you can use them to grow your blog and audience.
- Social bookmarking: Examples of social bookmarking platforms include Pinterest, Delicious, Digg and StumbleUpon.
- Social blogging tools: Blogging platforms, including Tumblr and WordPress are increasingly incorporating social media features on their platforms, effectively turning these platforms into social blogging tools. In addition to the traditional blogging platforms, you can also use Twitter as a micro-blogging platform. Other examples of social blogging tools include community and social websites such as Quora and Reddit.
4. Make 15 – 20 High Quality Blog Post Content before Starting
Before you start promoting your blog, create 15 to 20 high-quality blog posts. I know it’s a lot of writing but I feel this is important because when visitors do visit your blog, you want them to think that you’ve been blogging for a while. You want to look like an authority from the start. Also, when you start promoting your content on social media networks like Pinterest or Facebook, you can really explode your traffic from the jump. More content means more eyes on your site so it’s a great way to launch your blog with a BANG. Lastly, you’re more likely to be accepted to ad networks like Google Adsense and Sovrn. They want professional looking blogs and they’ll be less likely to decline you.
Some types of content tend to get more shares than other types. Two of my favorite shareable types of content include:
- How-to posts: How-to posts are basically short, easy-to-follow tutorials that are highly popular among internet users. For instance, according to data from Google, “how-to” searches grew by 70% between 2014 and 2015.
- Listicles: This blog post is the perfect example of a listicle. Studies have shown that listicles can help you get more shares, engagement and clicks than most other types of content. This is mainly because listicles are typically straight to the point, easy to read and actionable.
Your blog post word count should be at least 500 words but honestly aim for 1500-2000 words, especially is you’re writing a listicle.
Stuck on content ideas? Here’s a list of 120 awesome blog post ideas that you can download for FREE. Just click below!

5. Join Pinterest Group Boards
Pinterest is my secret weapon to getting tons of traffic to my site. The great thing about Pinterest is that you don’t need tons of followers to get Pinterest traffic which is why I highly recommend this site for newbie bloggers. If one person shares your pin (and they have tons of followers), their people will see it and you can get tons of repins. You can get tons of organic (aka FREE) traffic overtime if done right. I have pins that I’ve created in 2015 that still drives traffic to my site. It’s an amazing platform.
Another reason for my blog success is group boards. Also known as a collaborative or community board, a Pinterest group board is essentially a platform that allows authorized pinners to add pins to it. Once a pin is pinned to a collaborative board, it shows up on the home feed of every pinner who follows the board. For instance, if you join a group board with 200,000 followers and you add a pin to the group board, every follower of the group board will be able to see the pin.
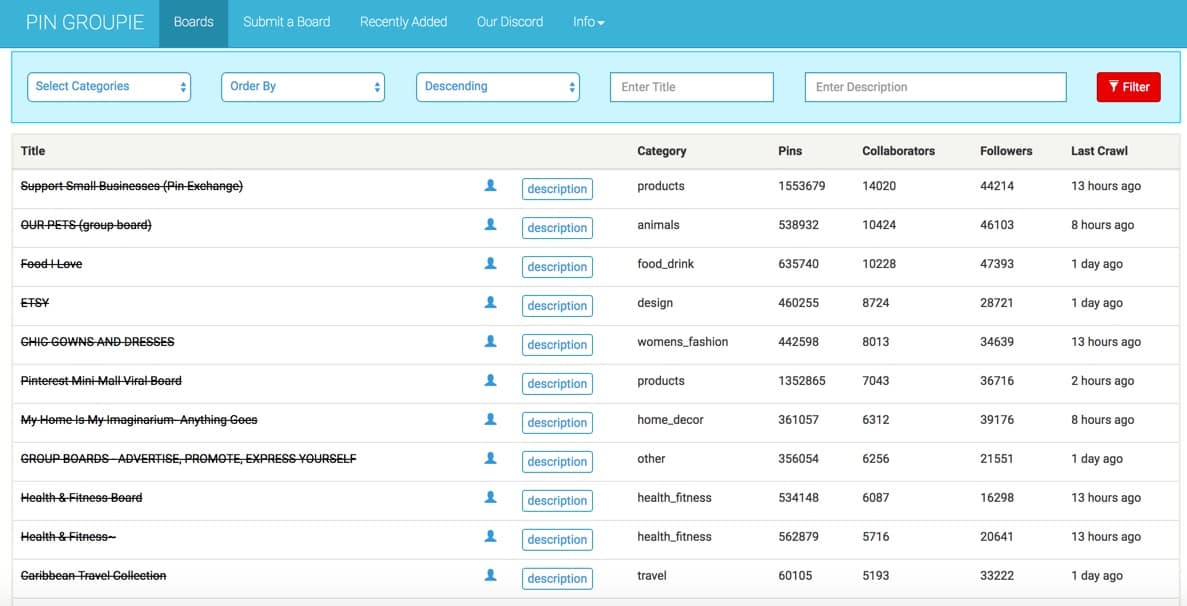
To put it another way, group boards make it relatively easier to get more exposure for your blog posts without necessarily increasing your number of followers. Additionally, Pinterest group boards can help you increase organic traffic to your blog, grow your email list and boost your link building strategy. To find group boards that aligns with your niche so you can join, check out PinGroupie.
6. Make Pinnable Pins for Pinterest on Each Post

Examples of Pinnable Images
For your blog posts to be pinnable to Pinterest boards, you have to make them pinnable by using an editing tool like Photoshop or PicMonkey (I love PicMonkey). It’s important to note that Pinterest functions more like a search engine than a social network. With that in mind, to make your blog posts more pinnable, include pinnable images in your posts, use Social Warfare to make it easy for readers to pin your images directly from your site, enable Rich Pins, write great descriptions, and use the right keywords.
In order to make the most out of Pinterest group boards, you’ll need to make sure your pins are not only looking fabulous but are effective in driving repins and clicks. I learned how to create eye-catching, viral pins that get shared thousands of times and drive traffic to my blog by purchasing Pinterest Avalanche course.
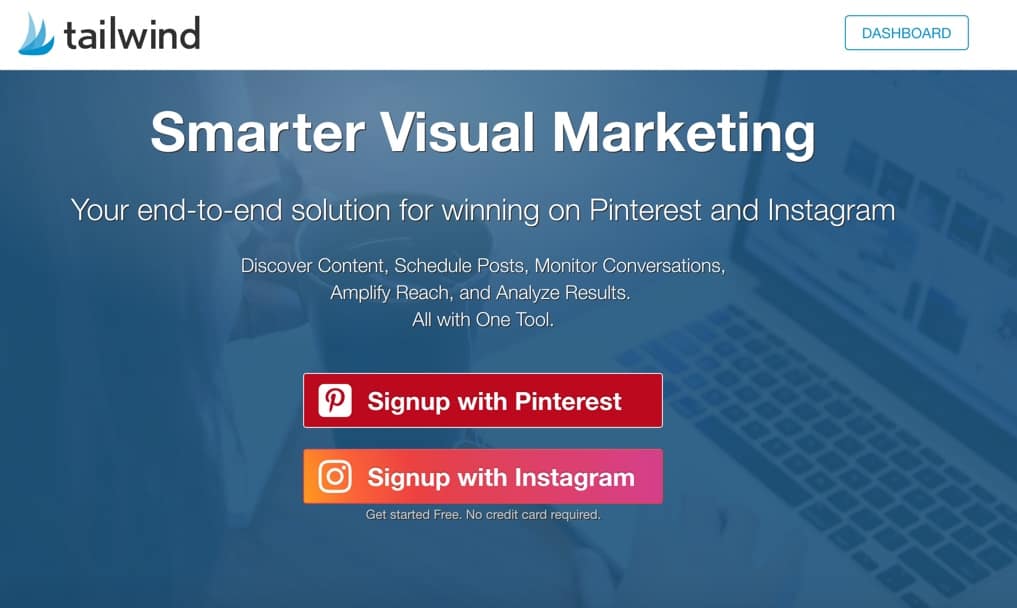
7. Sign up to Tailwind
For your Pinterest marketing, you’ll need to pin your images to different boards and group boards at different times throughout the day.
But….who has time for that?
It’s a ton of work and that’s where scheduling tools like Tailwind comes into play.
One of the biggest advantages of signing up to Tailwind is it would allow you to automate and optimize your pinning schedule, saving you both time and energy. Additionally, by optimizing your pinning schedule, Tailwind would help you increase your Pinterest followers and more importantly, drive traffic to your blog. They are a Pinterest-approved vendor so I know you won’t be harming your Pinterest account by using their services. It’s what I and most bloggers use to make Pinterest work for them.
Scheduling your pins is super duper easy to set up. All you do is find pins you like on Pinterest or on your website, and add it to the drafts section using the Tailwind extension button. Then you pick which boards you want your pins to be added to and then click schedule all. You can pin a lot of pins at once or have one pin go to multiple boards.
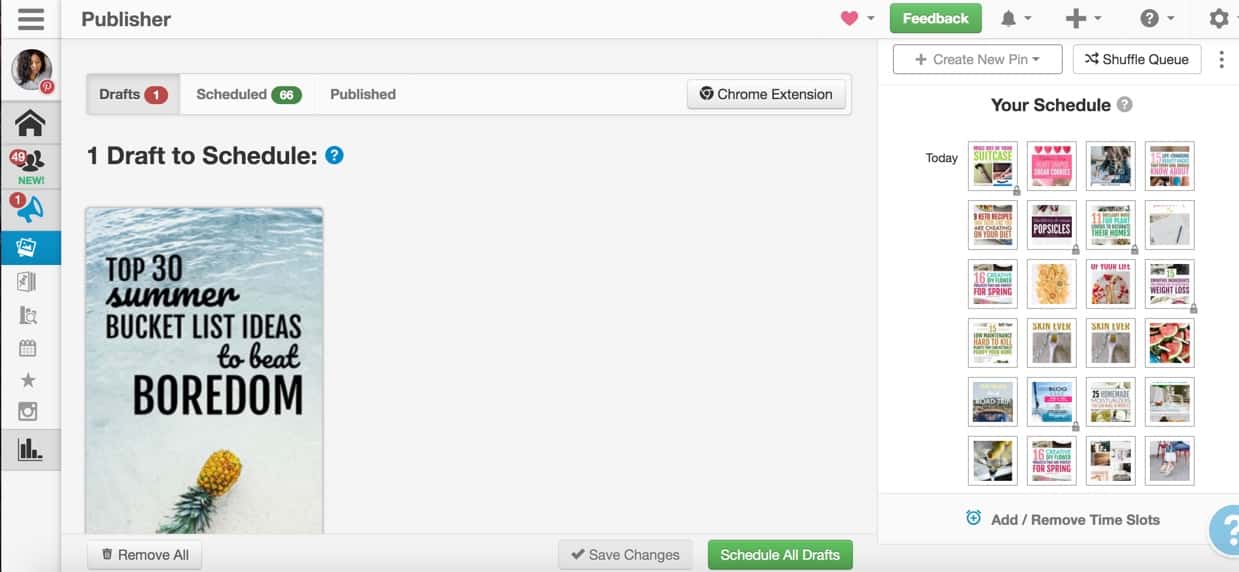
What I love about Tailwind is it shows you a visual representation of upcoming pins. You can move pins around to different time spots with its drag and drop feature.
It’s only $9.99/month when paid annually or $15.00 paid month to month. If you sign up through my link, you can get a free-trial and there’s no time limit on it. Yes, you read that right NO TIME LIMIT. You can schedule up to 100 pins on Pinterest before deciding on a paid account.
8. Join Facebook Groups
Similar to Pinterest groups, the right Facebook groups can help you connect with other link-minded bloggers, share your content to a wider audience, grow your following and email list, and drive traffic to your blog. However, not all Facebook groups are created equal. Make sure you don’t join groups that are a ghost town. You should see a constant stream of people within the group interacting, posting, and leaving comments.
Here are a few groups I recommend to help you get started:
9. Set up Google Analytics and Google Webmaster Tools
To measure the performance of your blog and to obtain the relevant data you require to improve the performance of your blog, you need to set up Google analytics and Google webmaster tools. In essence, Google analytics tools can help you to track and measure all the necessarily analytics metrics you need to make data-driven decisions. These metrics include the number of unique visitors, the percentage of new versus returning visitors, traffic channel, bounce rate, user location, and social interactions, among others. Set up Google Analytics on your site by downloading the free Google Analytics plugin by Monster Insights (Inside your dashboard under Plugins, do a plugin search and then upload it).
On the other hand, Google Webmaster Tools is important because they’ll help you analyze the technical aspects of your blog, as well as improve your SEO strategy. For instance, if you want to test the loading speed and performance of your blog, you can use the Think With Google Test My Site tool. Similarly, the Structured Data Markup Helper tool can help you improve your meta description and title tags. Here’s a great beginners guide to help you get started!
10. Purchase Social Warfare
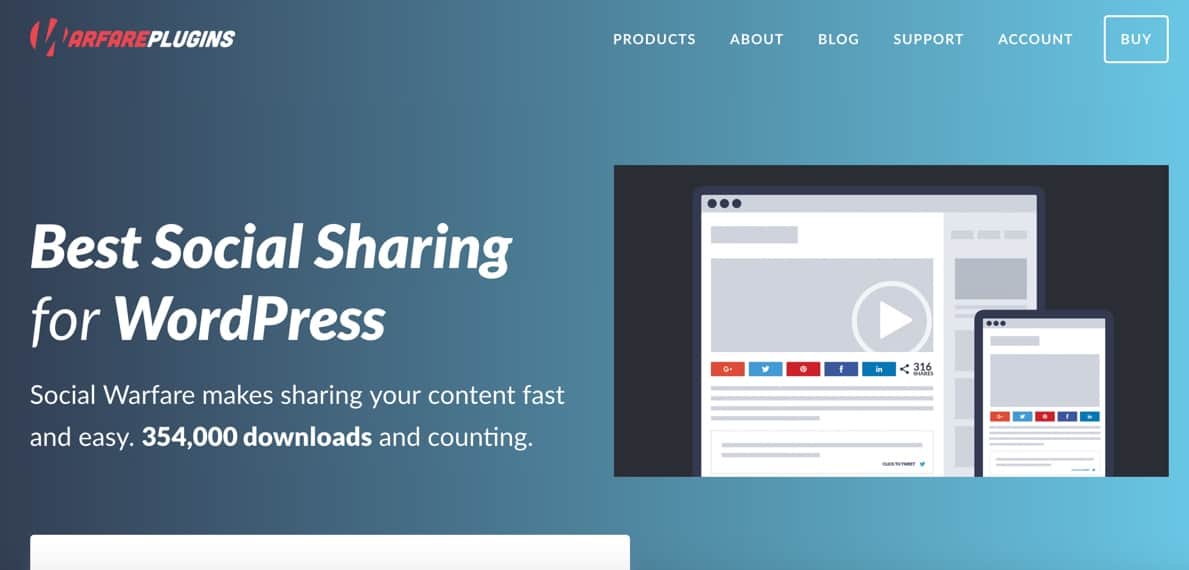
Designed for the WordPress blogging platform, Social Warfare is basically a social sharing plugin that you can use to make your blog content more shareable on various platforms including LinkedIn, Facebook, Twitter, StumbleUpon and Pinterest, among others.
To get the most out of this plugin, you should purchase the Premium Pro version instead of opting for the free version. With the Premium Pro version, you can customize which sharing networks you display, how your buttons look and where they show up. Additionally, you would be able to perform analytics campaign tracking, button click tracking and link shortening. What I love most about this Social Warfare is being able to upload a Pinterest-specific image and description for each post!
I know it seems exhausting when you’re first starting out, but it will get easier, less intimidating and you’ll eventually see progress. Plus, you get to work from anywhere so that’s always a BONUS!
Next Step: Publish Your First Post!
Now that you know how to set up your new blog, it’s time to publish your first post. As a newbie blogger, you’ll find it hard to come up with new, interesting content consistently. Trust me, I went through the same thing and most older bloggers would agree with me. So I wrote a post on 33 Blog Post Ideas that are popular and perfect for new lifestyle bloggers like yourself.
See below for even more blog post ideas!
Good luck on your blogging journey! If you have any questions or concerns after launching your blog, share your thoughts by commenting below and I’ll do my best to help you out.
One Comment